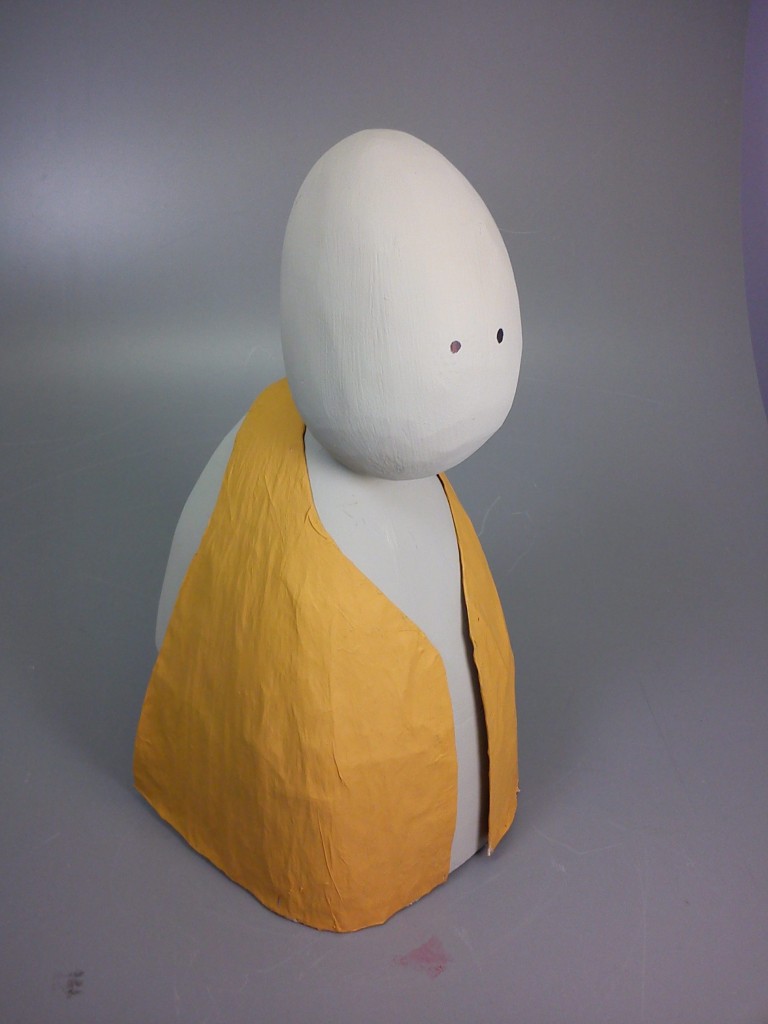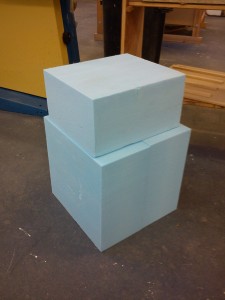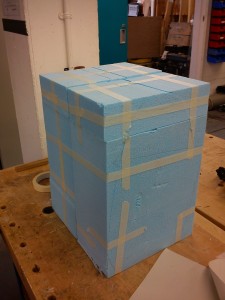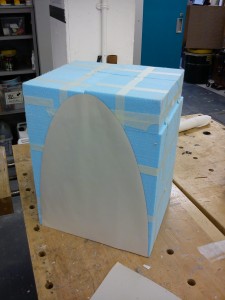
Scale Prototype

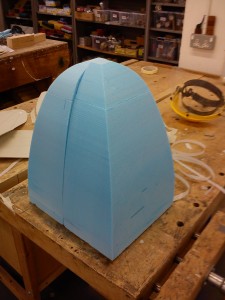
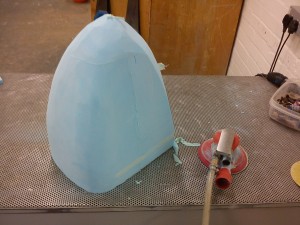
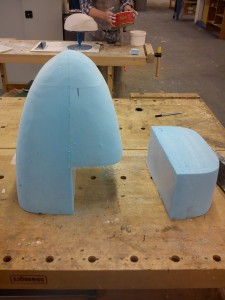
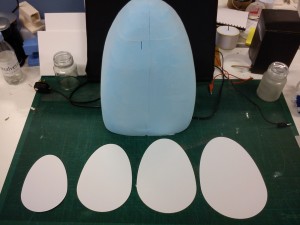
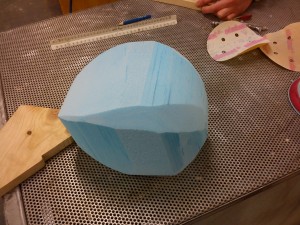
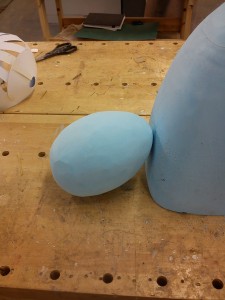
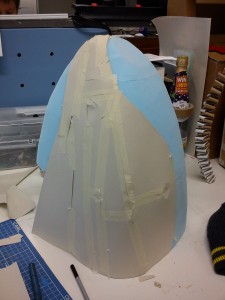
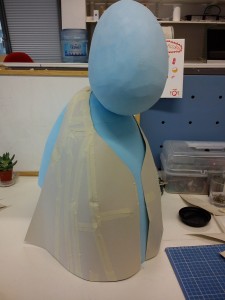
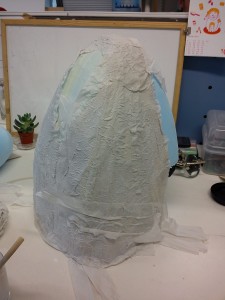
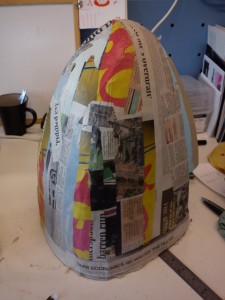
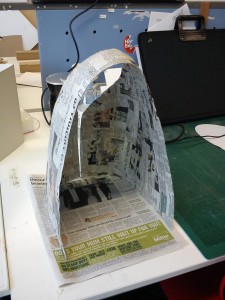
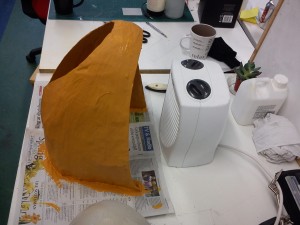
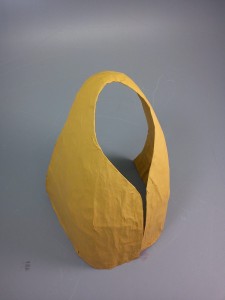
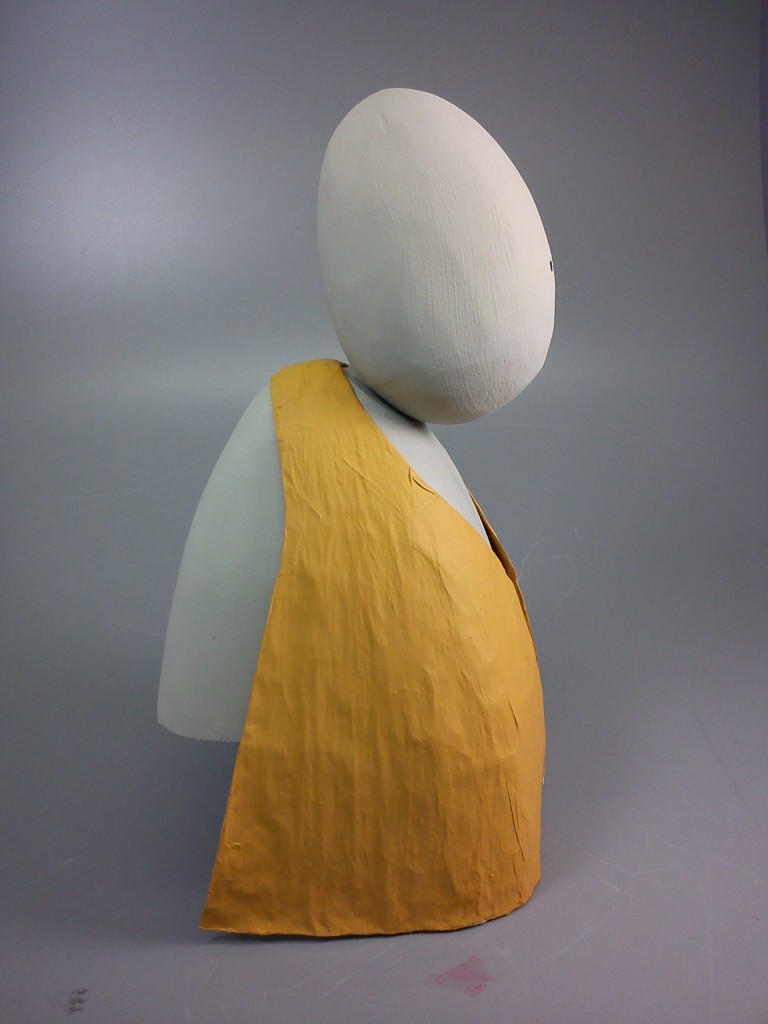
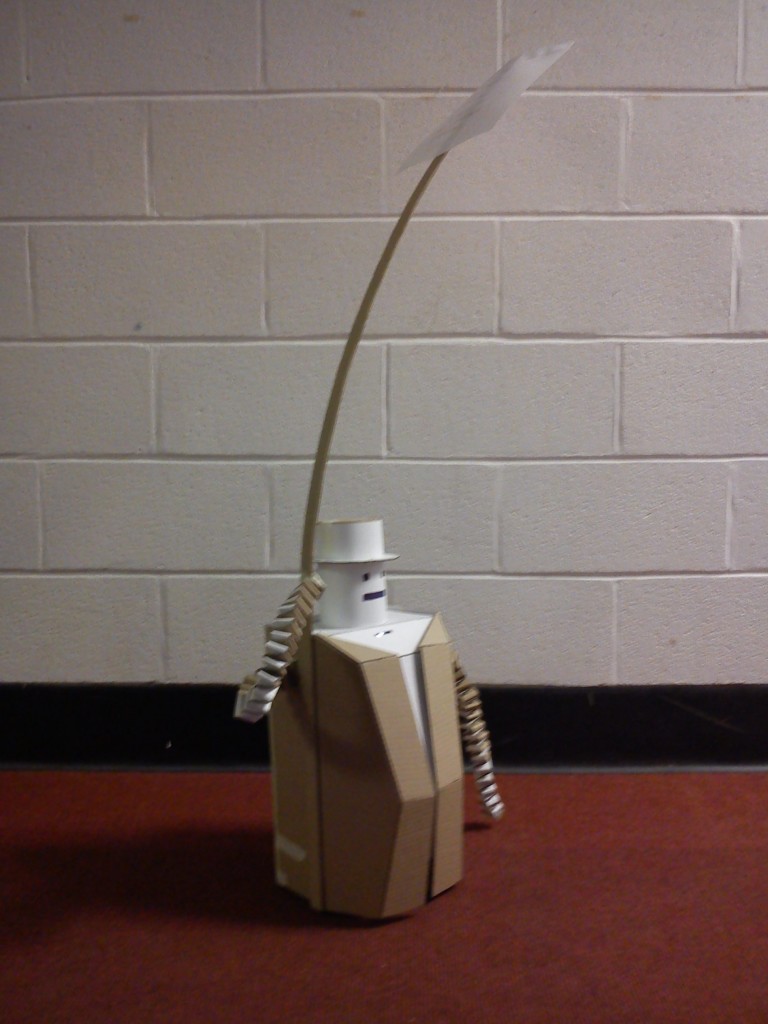
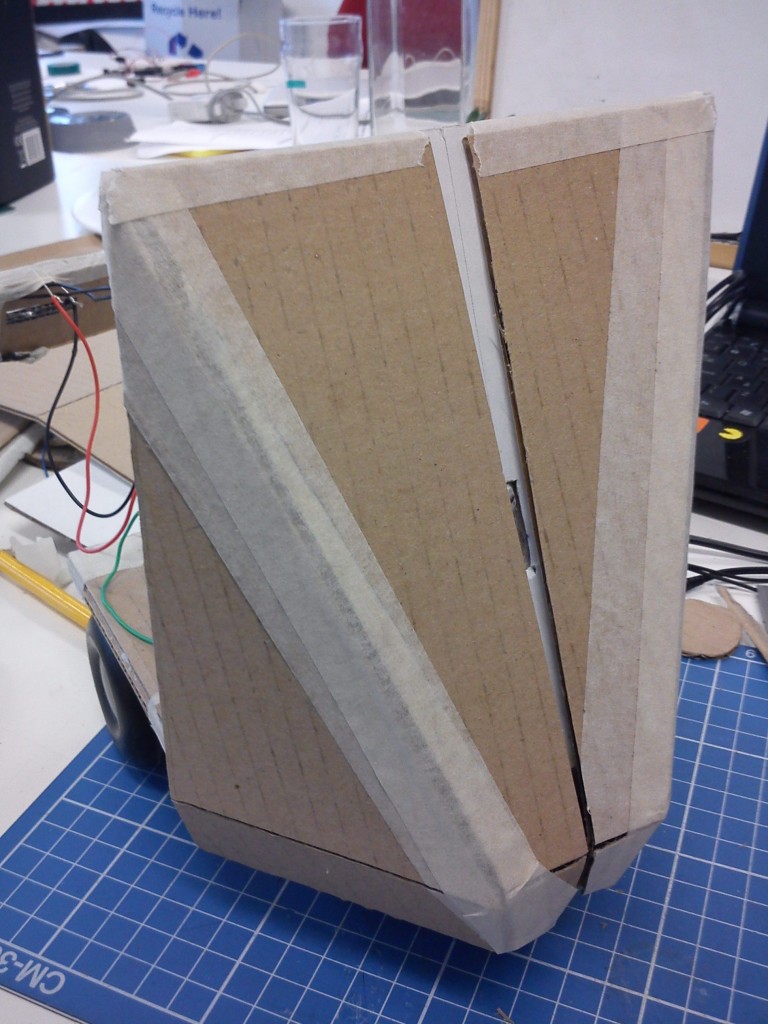
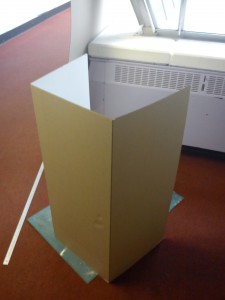
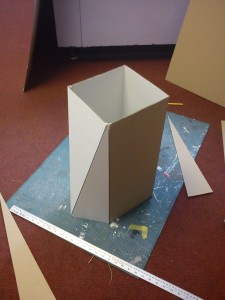
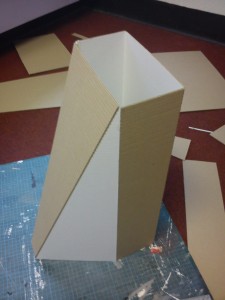
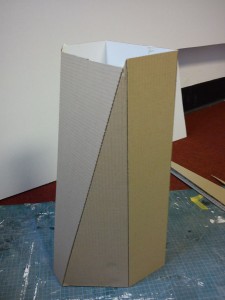
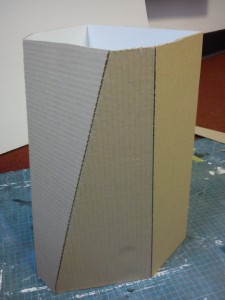
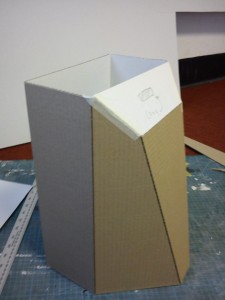
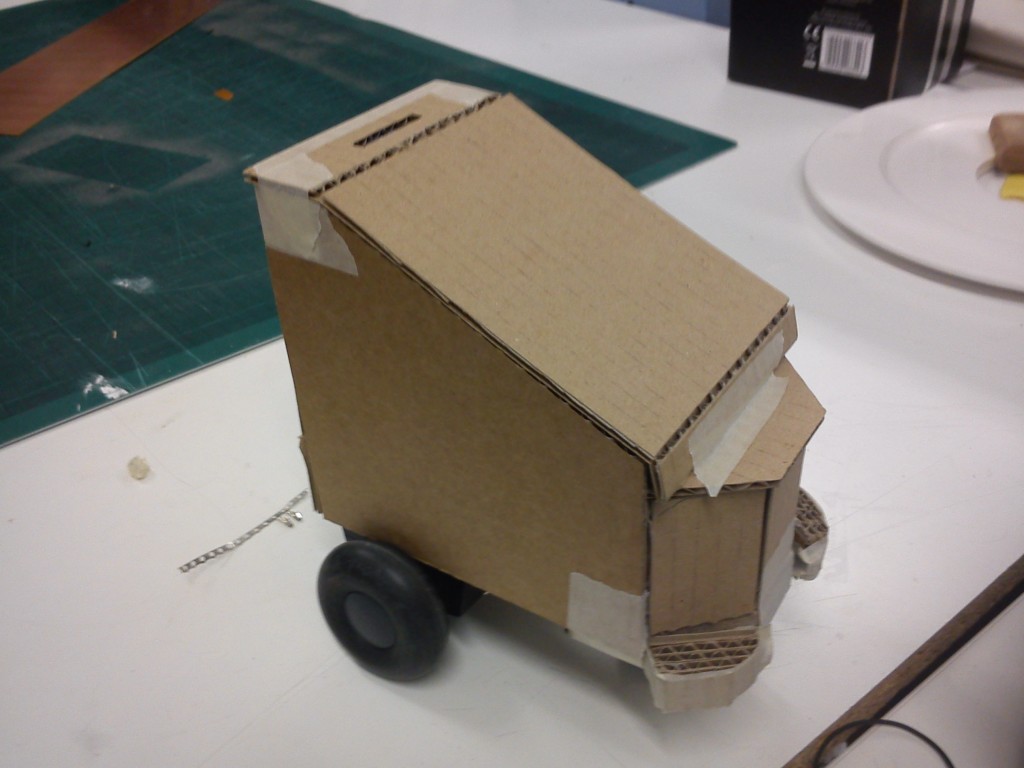
So for the past few days I have decided to build a full scale model of my concept render. I am going to use this throughout next week to highlight alterations and specify dimensions. Already I have been considering a redesign so that there are 2 rear wheels and a single front wheel as this should improve stability. Anyway, here is a bit of documentation of the construction of this model - lots of Styrofoam, paper mache and paint.

BODY

HEAD


BUMPERS


FINISHED MODEL


Posted in 4th Year Product Design | Tagged , , , , , , , , , | Leave a comment

Concept Render

***Click for HUGE***

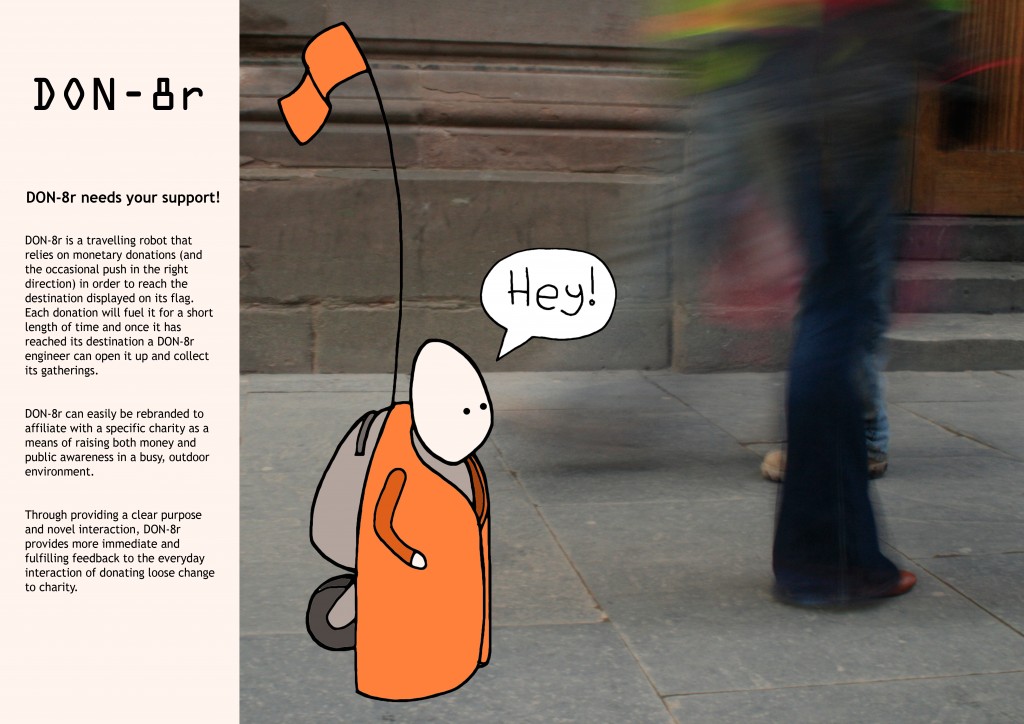
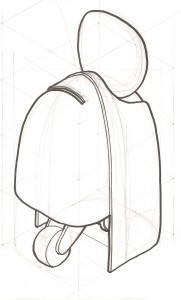
Meet DON-8r, a cash collecting robot traversing the great outdoors! Here is the culmination of PLAY, my concept design based around the tech prototypes I have been playing with over the past couple of months.

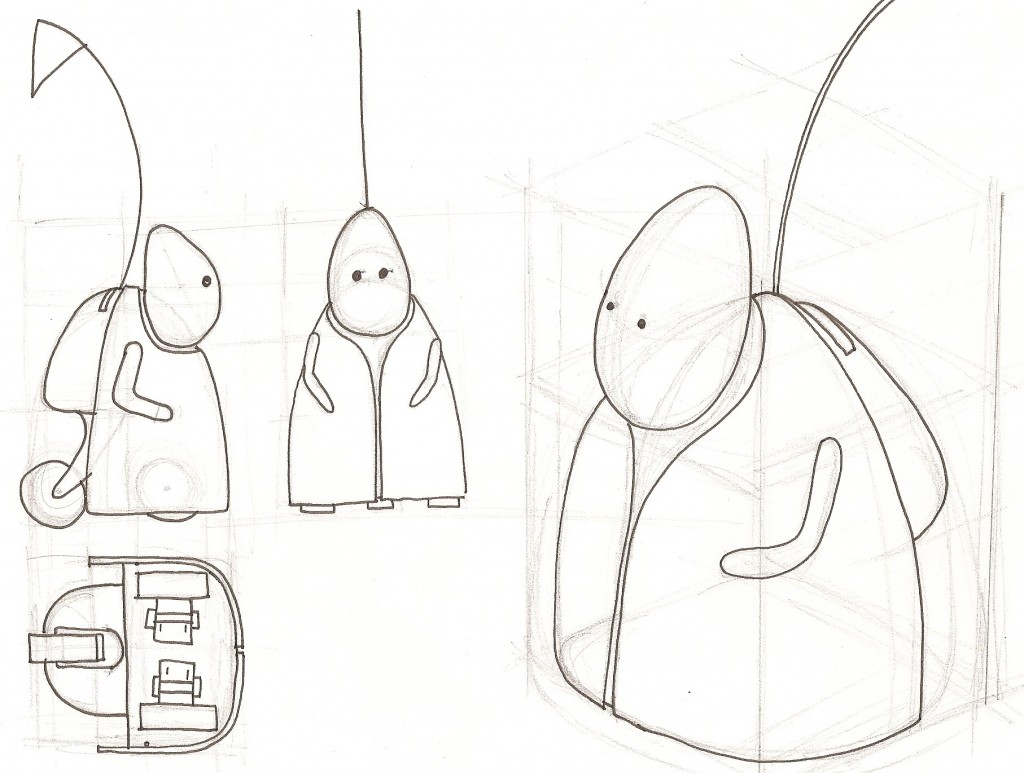
I have to say that I am relieved I have finally produced an impression of the aesthetics as this is something I have been stressing over for a while. While creating this I went through a few engineering styles to allow me to understand how it could all work:

I have opted to go for a three wheel design with the front two wheels driving the robot and a trolley wheel at the rear stabalising it. Although this fits with my current model, in hindsight having a single rear wheel may cause some instability, especially as it is designed to bump into things. I aim to resolve this as soon as possible and asses whether this is an issue.

Next up is MAKE with some detailed designing due to define some materials, manufacture process and assembling.

Posted in 4th Year Product Design | Tagged , , , , , , , , , , | Leave a comment

Nearly Finished Concept Model for PLAY

I have now embedded all my electronics and here is the working tech prototype hand in for PLAY. Although it does still have some mechanical issues which need smoothing over. Primarily the front wheel, which is a ball bearing, isn’t as smooth as it was and keeps jamming which causes the robot to stagger about and get stuck. I am hoping that this is not too much of an issue though as it is a mechanical problem and should be easily resolved. I’ll try to see what I can find to replace it tomorrow but not too fussed.

I does also look quite funny!

So what it does is call for help until it receives a donation. It then thanks the donator and begins its journey for around 20 seconds until it stops again and calls for help. I am thinking that it would be nice also if it was trying to get to a specific location so carried a banner highlighting this:

Posted in 4th Year Product Design | Tagged , , , , , , , , , , | Leave a comment

New Bumpers and Up-Scaling

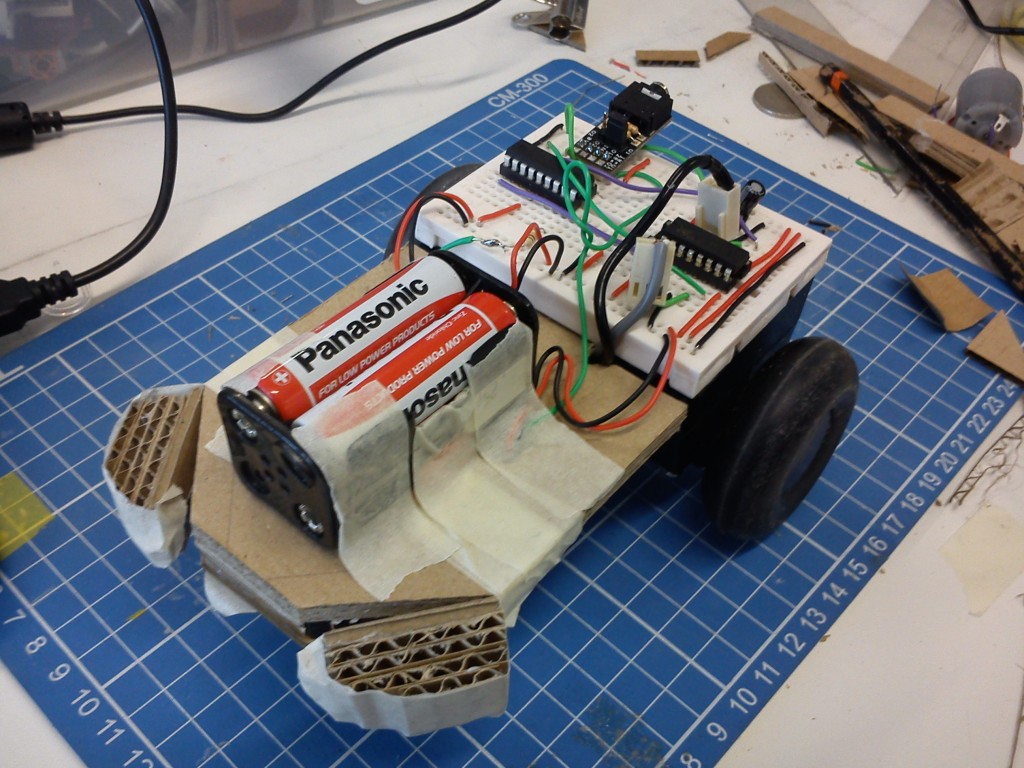
Having tried a three switch bumper design to resolve the issue of there being no sensor for the front, I designed this two bumper approach which covers the front of the robot quite nicely. This design was then followed by a bit more audio fiddling until I decided that it was about time I started thinking about some forms. Pete told me early on that I should try making the robot larger, just to see how it looks so I started with a 1m tall piece of card (which I thought was too big) and cut it back from there:

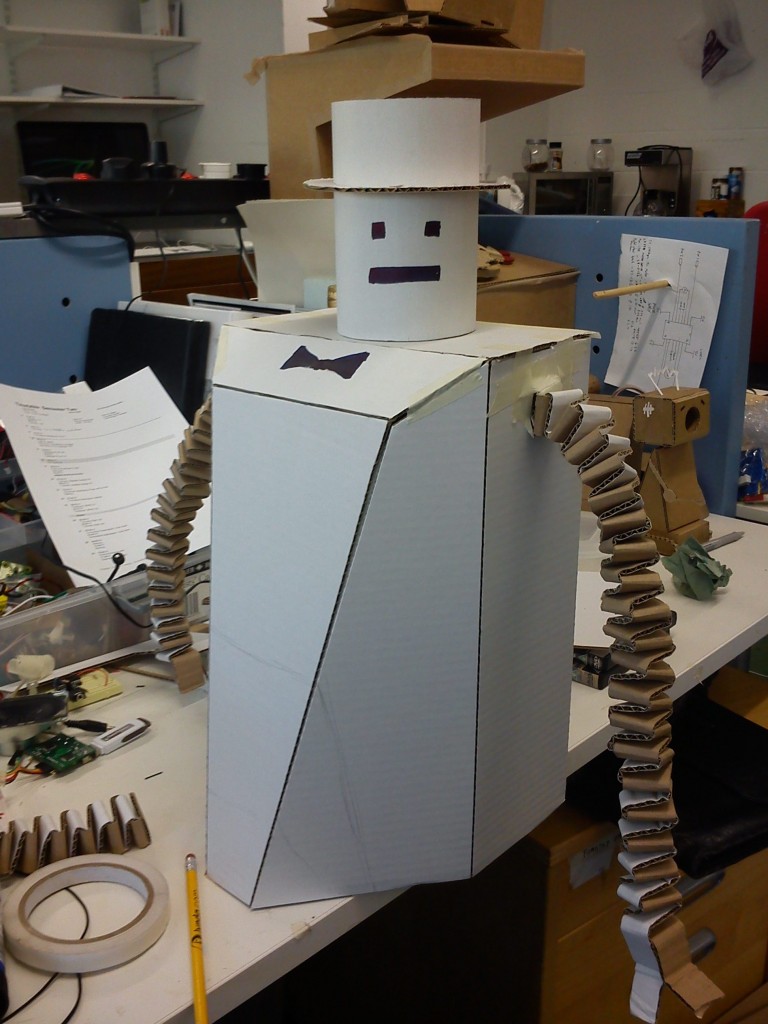
OK so I’ll be the first to say that it does look a bit ridiculous but I couldn’t help but feel that the working robots so far have been pretty much emotionless boxes with wheels. Pretty much just like a Dalek - and nobody wants to donate to a Dalek! So this is the extreme alternative and as a hand in for play I am happy with this being a concept design. Pete explained how one of last years graduates, Natalie Duckett, had a bit a of ridiculous concept model for the PLAY hand in although it transformed into a far more sophisticated design so it wasn’t a bad thing. I just need to start thinking about how I can properly design the aesthetics of mine now…

Posted in 4th Year Product Design | Tagged , , , , , , , , , , , , , | Leave a comment

Artificial Emotions

First off, here is my improved robot design built to look and operate a bit better. this uses three bumpers, two at the sides and one in the middle. The coin slot is currently hanging off the edge as I have yet to find a good spot for both it and the coin chamber. However, as you can see in the video, the front bumpers still are not perfect, they have a habit on getting cought on things and the robot gets stuck on small objects. I have since re-design these and I’ll put them up in the next post. Covering a bit of Blog backdating here.

Where I am now though is that, following last weeks discussion with Pete, I really need to apply some emotions to this robot. I have been playing around using a few different forms of audio to do this, using both a piezo and an Mp3 player. For both I have tried a type of “bump” sounds effect to be applied when the robot hits something.

The piezo uses a retro computer game sounding bump while mega nerds will recognise that the Mp3 player uses the audio of Navi from ‘The Legend of Zelda: Ocarina of Time’ bumping in the fence during the intro sequence where she goes to wake up Link (or Fagballs as I called him).

Back on track though, both have the issue of not being loud enough once the motors are running:

I have attempted to use an amplifier to boost the Mp3 but for some reason this ruined everything and now the whole audio system does not want to work which is pretty frustrating. I’ll try a new approach but not too sure what that will be.

Pete also suggested I speak to a place such as Sensation (a kids science centre in DUndee) with regards to possibly users. I am not too sure of this though. I gues I havn’t really put enough thought into the purposes and practicalities of my project for a long time now as I have been bogged down but card and wires. I always percieved this as an extension of Kacie Kinzers ‘Tweenbots’ project - having robots out and about on a journey collecting money. However this raises alot of issues such as outdoormobility and theft which is why I assume pete is stressing to speak to Sensation. I think I will although I am not sure what I am asking. I hope to speak to Jon Rogers about this issue later today as he has been working on community and charity based projects for a while now.

We’ll see, either way I need to decide soon as our hand in for PLAY, which includes a working tech prototype and render of the final design, is due a week today… eep!

Posted in Uncategorized | Tagged , , , , , , , , , , , , , , , , , , , , , , , , , | Leave a comment

Plans and Gantts

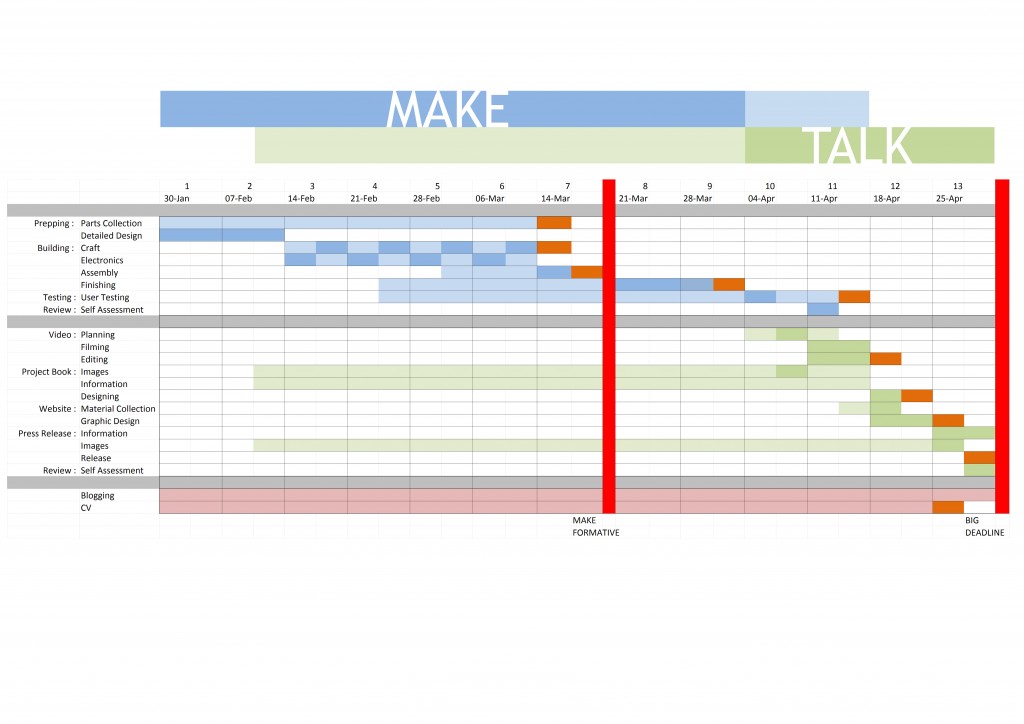
One of our hand-ins for the PLAY stage is to produce a Gantt Chart detailing our approach for the next 13 (I think..?) weeks left of 4th year. Here is my plan of attack anyway. With the MAKE stage (blue) covering 50% of our overall grade I gave that a longer time scale than the TALK stage (green) which is only 15%. Each of the orange boxes highlights a significant end point of a particular stage while the lighter coloured boxes signify stages which are more flexible and may be approached when there is extra time.

It will be good to see how beneficial and accurate this will be.

Posted in 4th Year Product Design | Tagged , , , , , , , | Leave a comment

Coin Responsive Robot

Although not the prettiest looking design, this is the first prototype of the fully functioning coin responsive robot. Here’s a video of it in action:

As you can see, as a coin is put in the robot does a small shake, a spin, and then get on its way. This is a first attempt at applying some personality towards the robot, something which my tutor strongly emphasises exploring further. the bumpers are still working as a means to stop the robot getting stuck although I plan to try other features such as audio which may make the robot call for help. It’s all part of PLAY!

Posted in 4th Year Product Design | Tagged , , , , , , , , , , , , | Leave a comment

My First Robot

Last night I managed to get a robot up and running. Despite having wires and other bits and bobs in view its a pretty basic circuit using two switches as bumpers. Here’s a video of it in action:

And here’s the code: robot with bumpers

The next step, which I have been working on today, is to include the usual lightgate/coin sensor which will activate the robot for a limited length of time. I have actually managed to get it working although the batteries overheated, nearly melted their plastic housing and now there’s nothing for me to film - that’s what you get for using cheap batteries!

However, after some pondering (a bit more pondering than actually getting anything done) over Christmas, I am not sure if robots is still the route I want to go down. After the Petite Noel Project I quite like the idea of generating a series of bespoke donation boxes for specific charities and situations. Whether this still involves robotic donation boxes or not will depend on what charities show interest and would be up for getting on board. The next step will be to type up a few emails and get them sent out to some local charities. I have a few ideas of who I would like to work with but I’ll wait and see who responds first!

Posted in 4th Year Product Design | Tagged , , , , , , , , , , , , , , , , , , | Leave a comment

The Petite Noel Project: Part 4 - Finishing

It’s been a busy past week but now I am all finished up for Christmas and in a thankfully-not-so-snowy Spain! So while I have some spare time I thought it best to tie up some loose ends here!

Last Wednesday Dundee Jamboree presented Petite Noel, a shopping event showcasing a unique and varied selection of bits and bobs by some very talented makers. I was there selling work on behalf of my sister, Rachael Claire - a graduate from the University of Dundee now living in Spain specialising in knitted textiles and jewellery (her website is under construction). Having never set up a craft stall before I think it looked pretty good!

Her work sold really well on the night and I think it definitely helped to be right next to the DELICIOUS selection of muffins, cakes and traybakes from Kitshinbake that were catching everyones eyes on the way in!

Back to the main topic though - my donation box was also exhibited on the night of Petite Noel! I’ll come back to that at the end of the post though, need to catch up with the making-of first.

Part 1 - Finalised and Working Code

The main issue her was that it was tricky to interrupt the dimming process mid-dim when the duration of the dimming needed to be around 2 minuites. A chat with Phil Gordon resolved this however - a sub counter within the overall counting down counter allowed for smaller pause durations to be used. As per usual, here’s the code for that!

turning Potentiometer with servo with interrupt

Part 2 - Embedding

In order to embed the Circuitry inside the top piece I set about doing a bad job of soldering it onto a circuit board:

A more structured attempt afterwards however and it all pieced together nicely

I designed the top unit so that, rather than glueing the electronics in, there where 2 screws on either side which secured the upper and lower sections of the top unit allowed for easy access.

Part 3 - Presenting

Dundee Jamboree decided that the funds raised through the donation box would go towards Caring Christmas Trees - a charity which is raising money, through selling Christmas trees, to support Dundee homelessness. It was from here that Dundee Jamboree bought their own Christmas tree.

It was a successfull and busy night throughout so I didn’t manage to get any documentation of the box until the end of the night when everything was getting tidied back up:

There is a video due to follow shortly demonstrating the tree in action but I have left that file on a pen drive back home so I’ll come back to that later.

Part 4 - Evaluation

The donation box managed to raise just over £20 which was not bad for 4 hours collection of loose change! However I feel it would have made more if its purpose was made a bit more clear. It may also have helped explain to people why the Christmas tree was looking a bit lack lustre with the fairy lights not on. This could probably have been done most effectively with either a clear sign or decoration on the box. I think that is definitely what I have to take into consideration for the next donation project: the purpose and the incentive to donate needs to be made as clear and simple as possible.

All in all though it has been a fun project and definitely a stepping stone towards what I am aiming to do for the final 4th year hand-in in May. Also, I now have a cool donation box that can easily be adapted for future events, either with fairy lights or some other outputs.

UPDATE::

The box made in into local newspaper - The Courier! Here is the scanned snippet from the Dundee Jamboree blog. How exciting - thanks to Dundee Jamboree for saving the image!

Posted in 4th Year Product Design, Extra Work | Tagged , , , , , , , , , , , , , , , , , , , , , , , , | 1 Comment

The Petite Noel Project: Part 3 – Model Making

Following on from The Petite Noel Project: Part 1 - intro and The Petite Noel Project: Part 2 - Electronics

Part 1: Prototyping

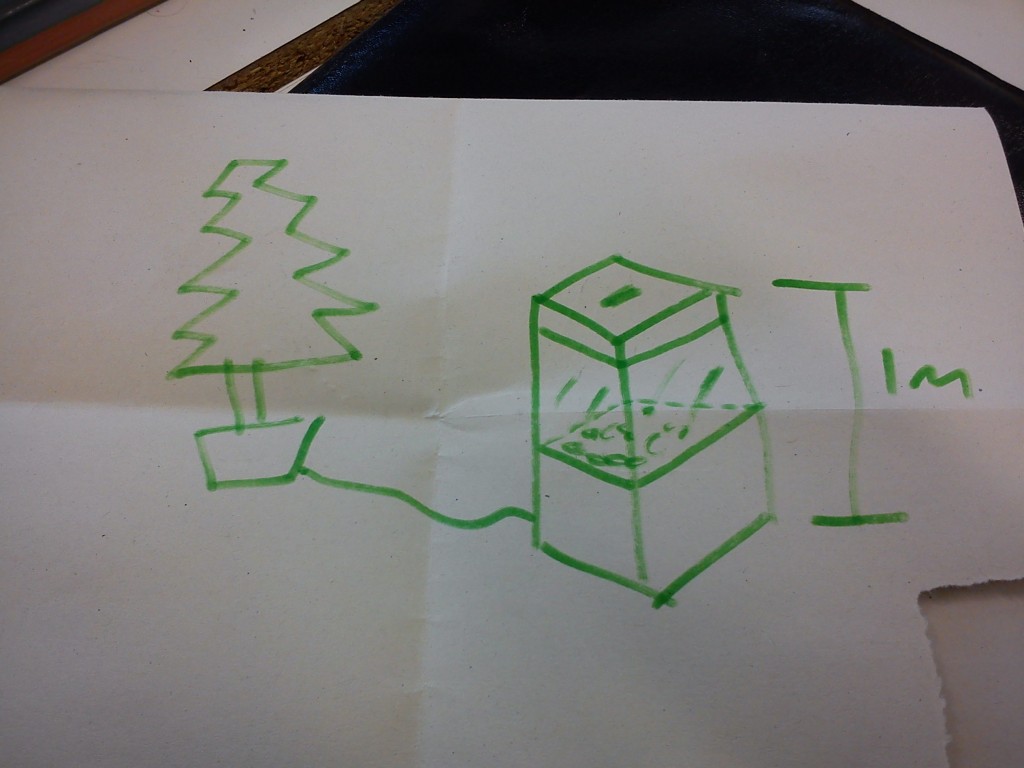
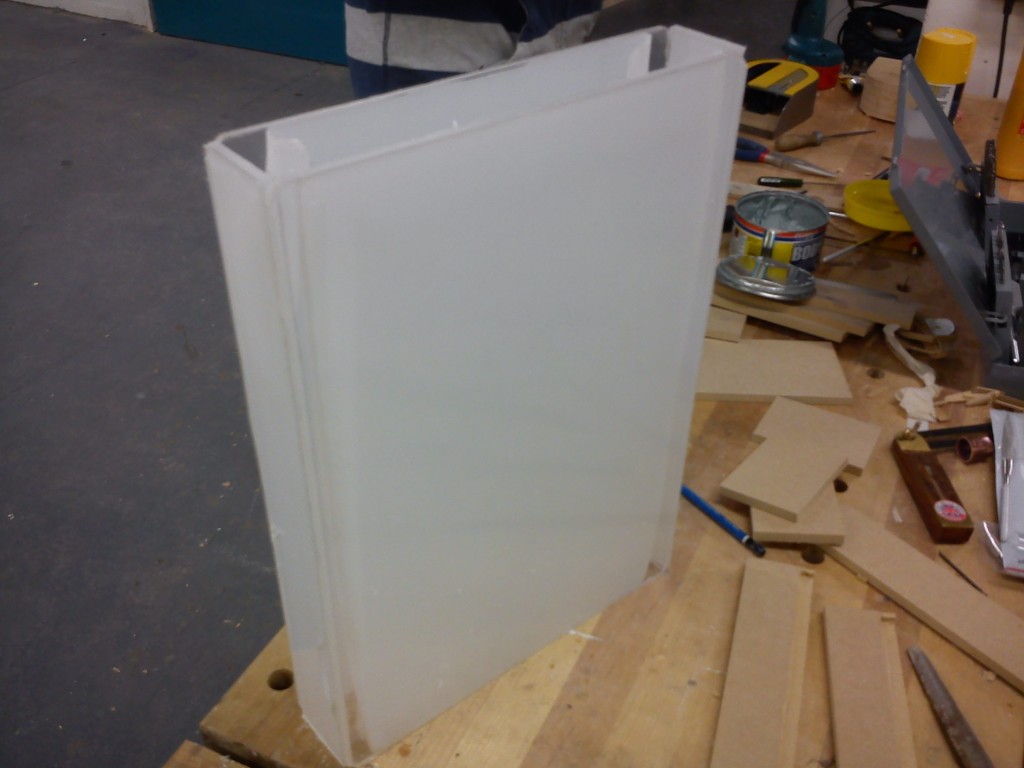
With the electronics at a bit of a dead end last Friday I turned my attention to the construction of the donation box itself. I had a round in my head of how I wanted to box to look - I wanted it tall, floor standing and with a transparent screen for the coin area. The design sketch looked like this:

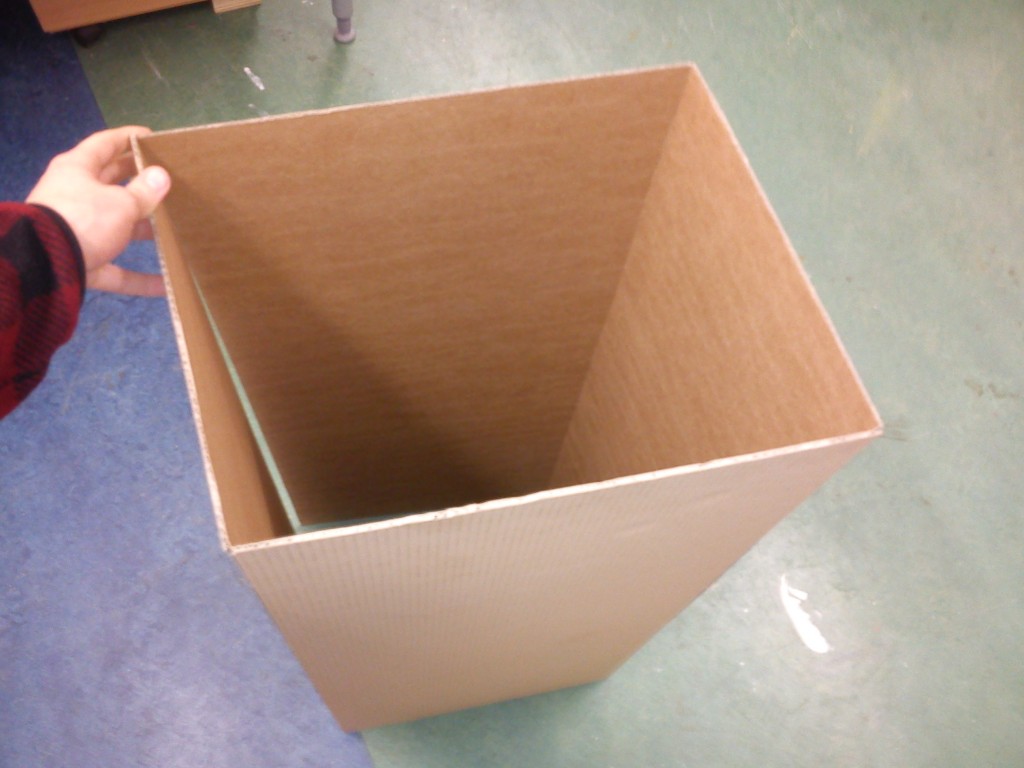
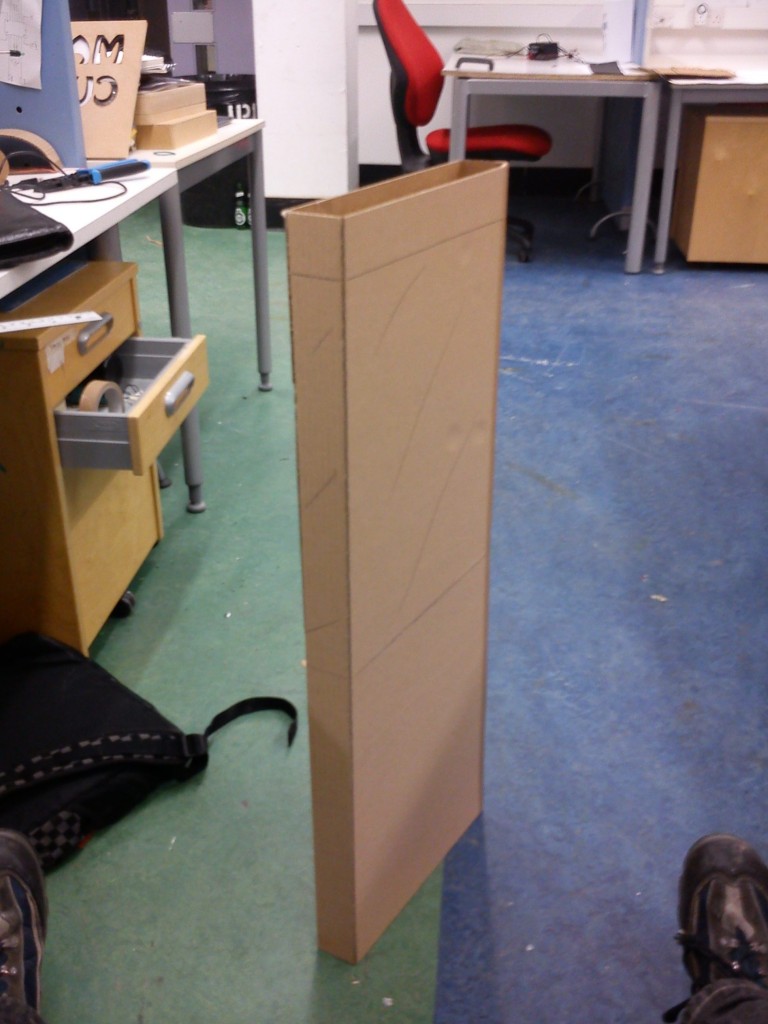
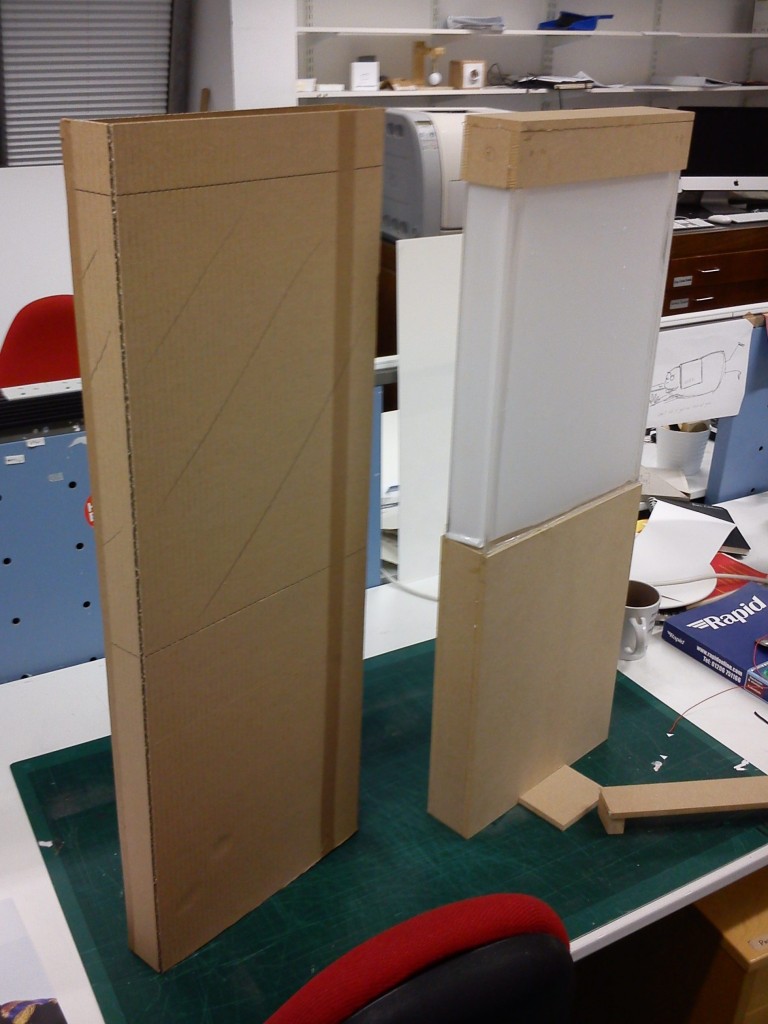
Following this I got a big piece of cardboard to create a scale prototype model and visualise the dimensions of the box.

Too big. It would take heaps of money inside it for it not to look like a pitiful amount. So I made it skinnier.

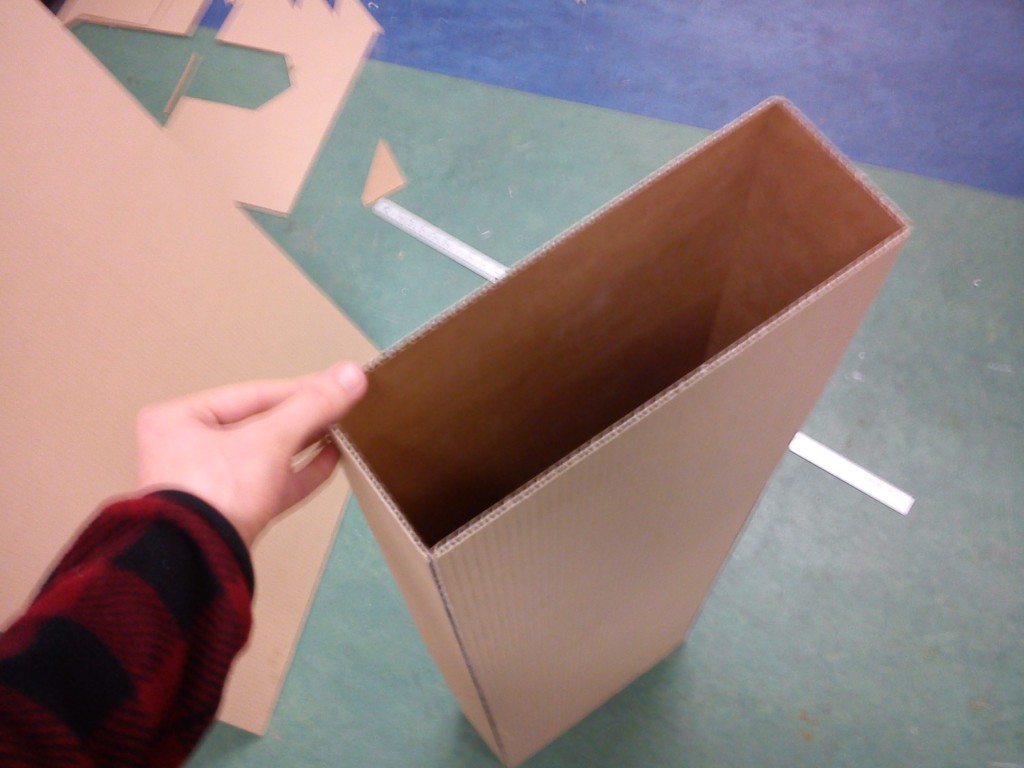
This was also a bit too chunky for my liking so I gave it a further trim.

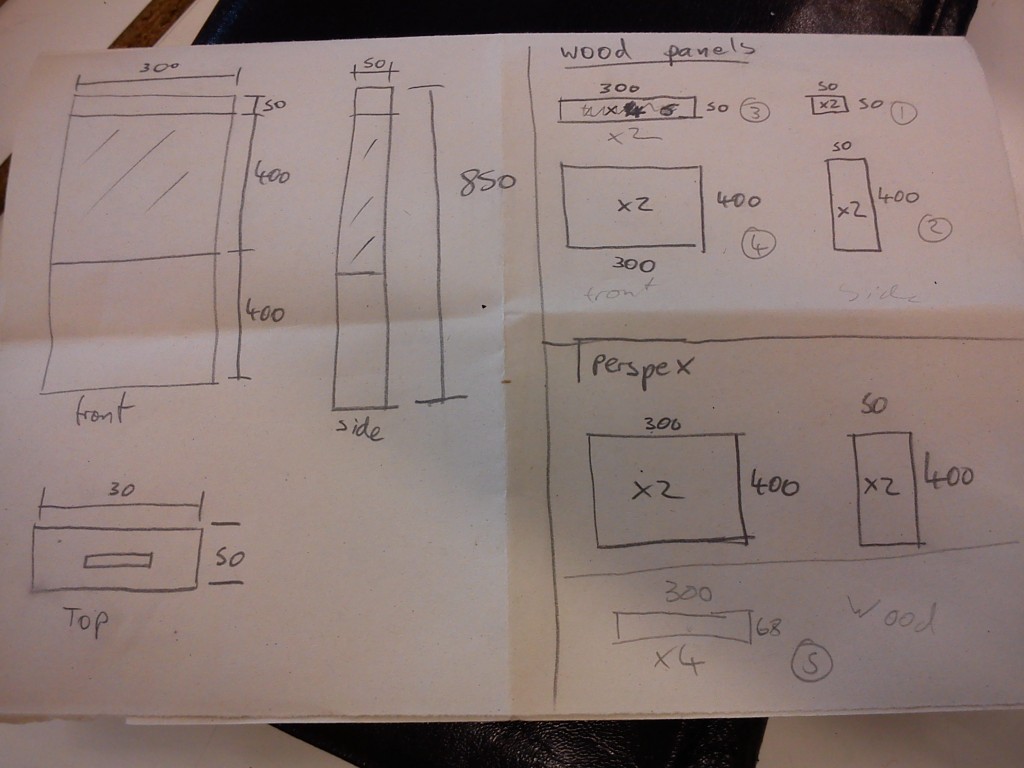
Third time lucky, this size was ideal so I also marked on where I would want the transparent screen to be. Following this I measured it all up and got dimensions both for the finished piece and also for the panels of wood and plastic which would be required. This was put together in a semi-technical drawing. Detailed enough though for me to explain to the technicians in the workshop what I was doing, what materials I was using and for them to cut the pieces into shape.

Part 2: Making

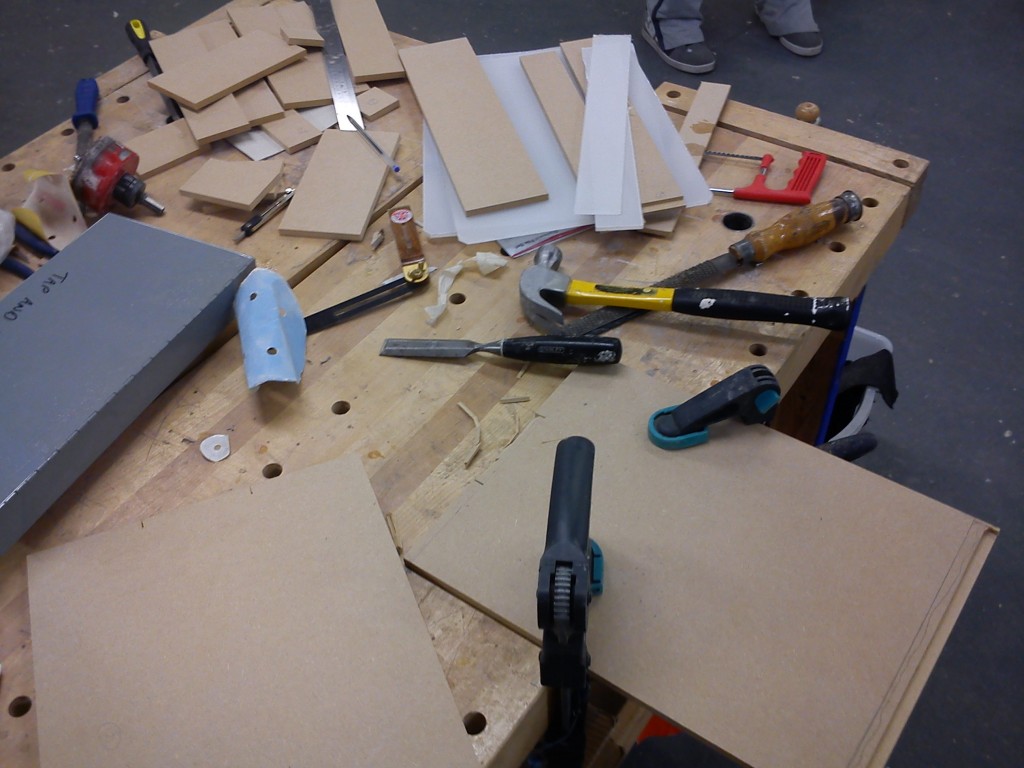
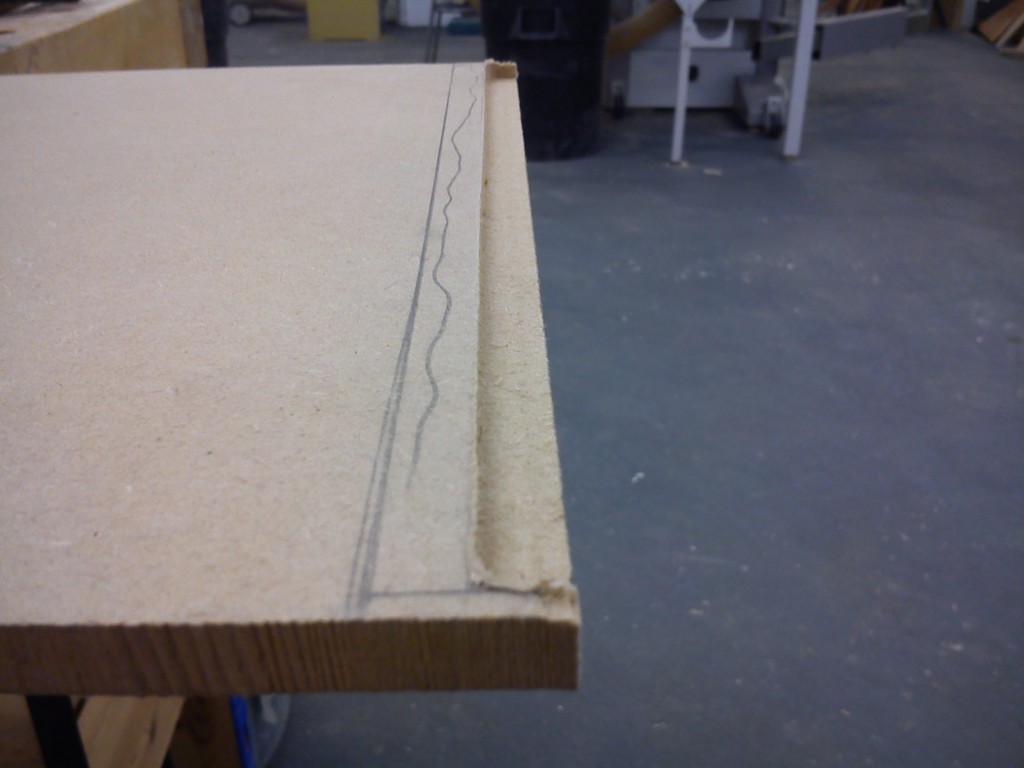
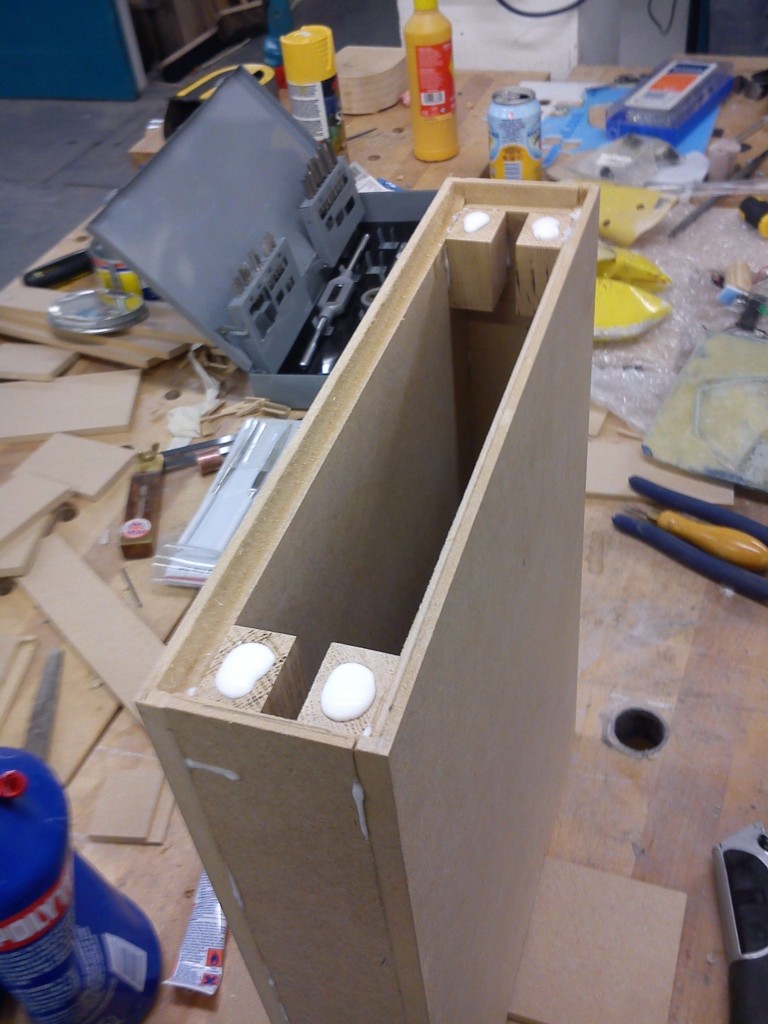
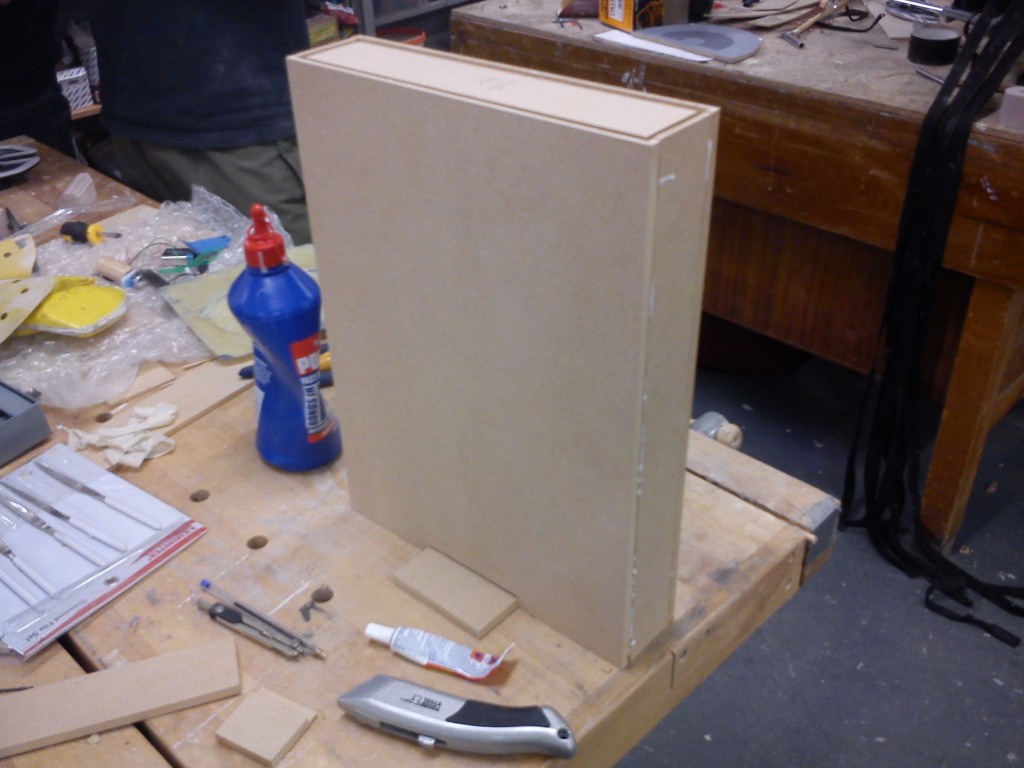
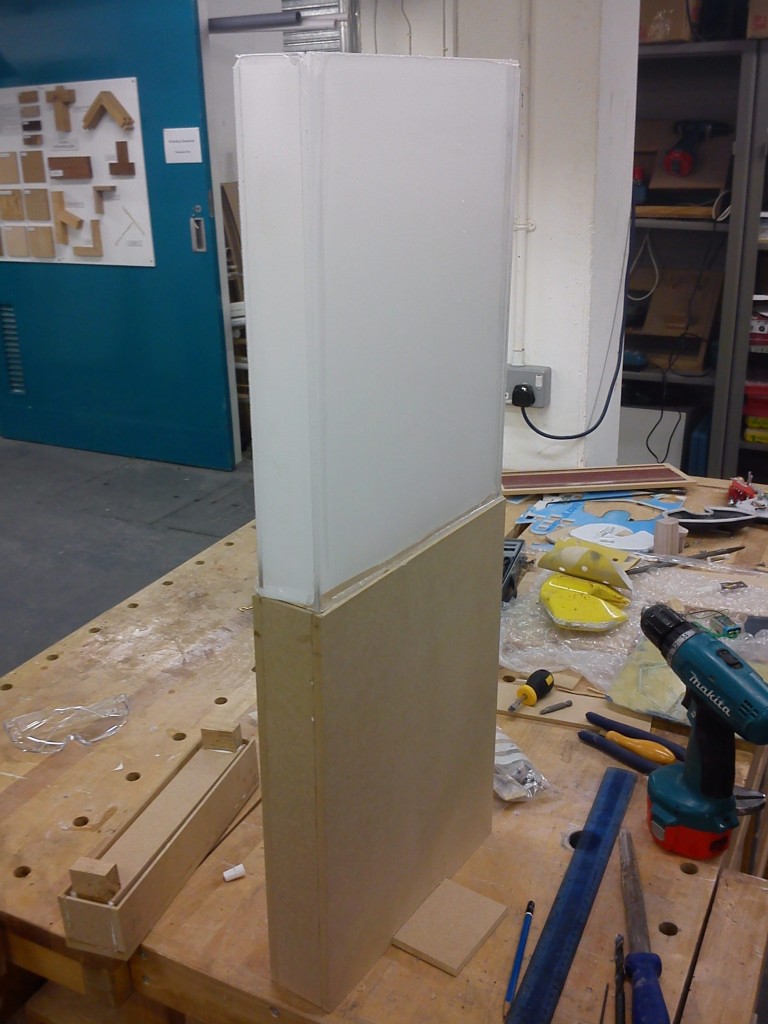
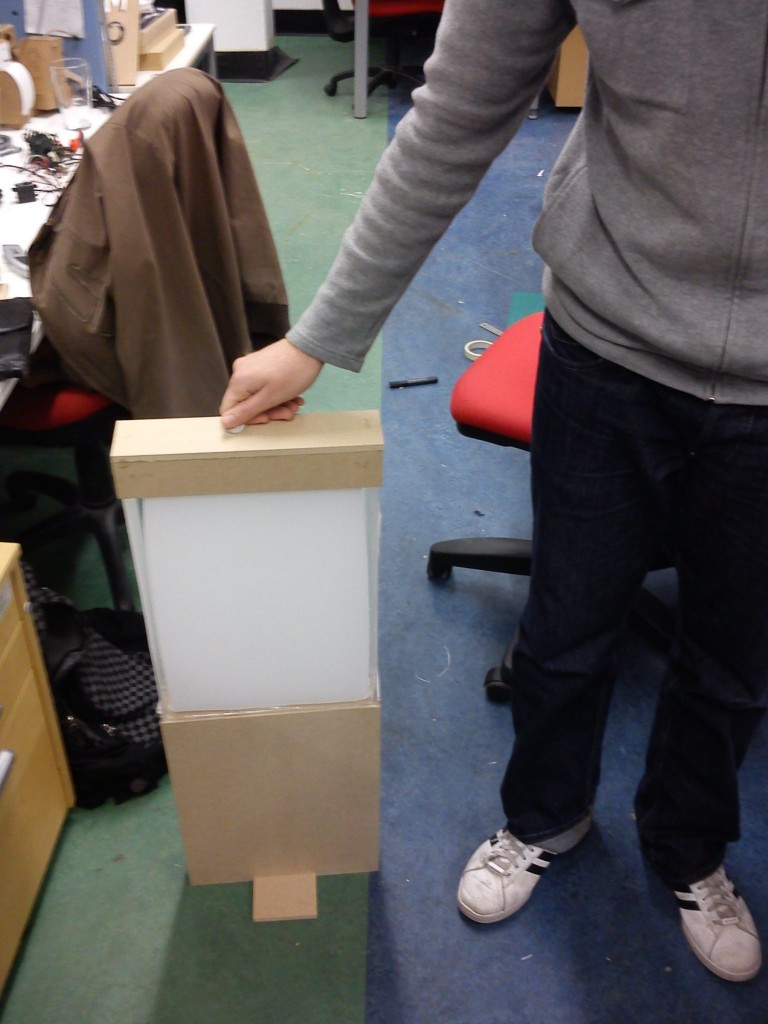
So with a big pile of wooden planks I set about defining which specific plank/side they were and working out how they would be constructed. I began by milling out a groove for the plastic section to securely fit between the base and top wooden sections and then assembling all separate sections.

Part 3: Testing

With the model constructed I compared it back with the card prototype and got a classmate to test the coin dropping height.

Part 4: Next up

I am writing this post having just resolved the coding issues highlighted in the last post thanks to Philip Gordon‘s technical know-how. So now I’m going to make a trip back to the workshop and the soldering room to get all the now fully functioning electronics embedded!

Posted in 4th Year Product Design, Extra Work | Tagged , , , , , , , , , , , , , , | Leave a comment

The Petite Noel Project: Part 2 - Electronics

Following on from The Petite Noel Project: Part 1 - intro

***warning - technical rambling approaching***

PART 1 - Getting an LED to pulse

The first step was to work out how I could get an LED to dim gradually. As far as I knew, the way a microcontroller worked was to provide outputs of either high or low, essentially ON or OFF. So to produce the gradual dim I assumed that a capacitor or some component along those lines would be needed. A quick twitter appeal for help however highlighted that what I needed to look into was PWM (Pulse Width Modulation). Im still not entirely certain how or why this works but a copy paste from the PICAXE manual with a few tweaks here and there and I got it working:

Not all that exciting I know but when it’s taken you 5 hours to accomplish this, the feeling of satisfaction is unparalleled. I think at the time I yelled a hearty “woop!” of success out to myself!

PART 2: Adding on a lightgate

So the next step was to instruct the LED to begin dimming once an LED-LDR lightgate was broken. This would be a similar system to that used in my previous donation box which activated an MP3 only this time it would activate the dimming LED. The wiring up here was fairly straight forward however the code proved to be a bit of a challenge. Our in house PICAXE guru, Mike Shorter, ended up helping me here and I think I am gradually beginning to get to grips both with more advanced coding of the PICAXE and the how to read the relevant instruction manuals! I won’t go into the iterations of getting this to work but here is the finished code:

Dimming LED using PWM

PART 3: Upgrading LED to fairy lights

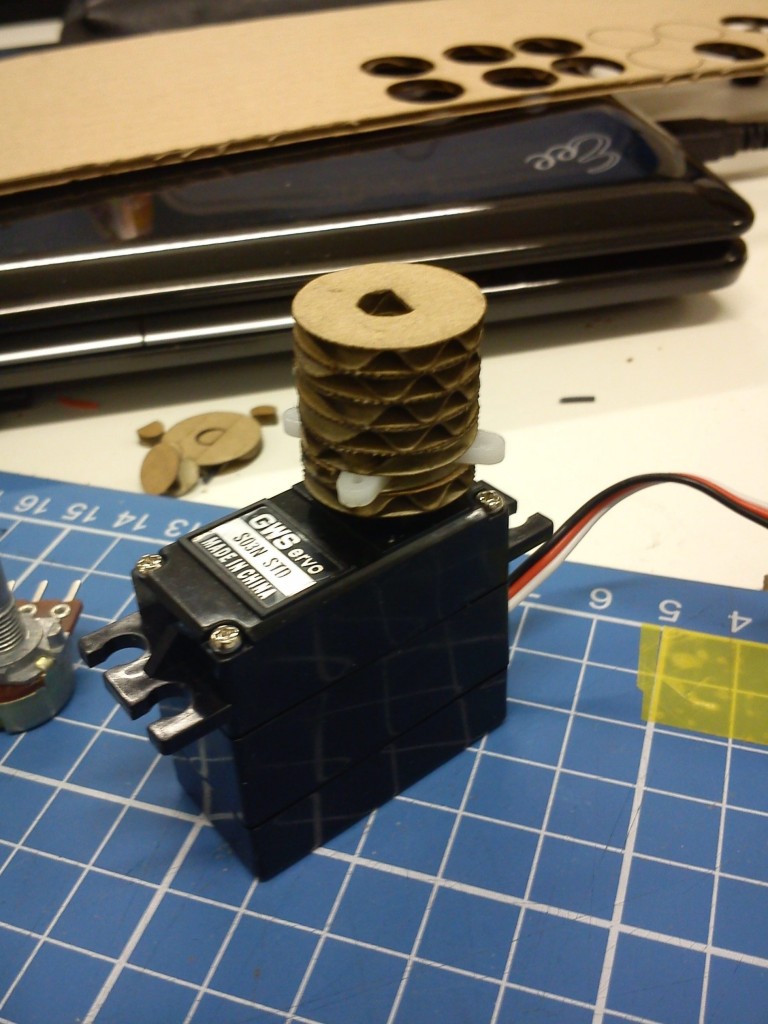
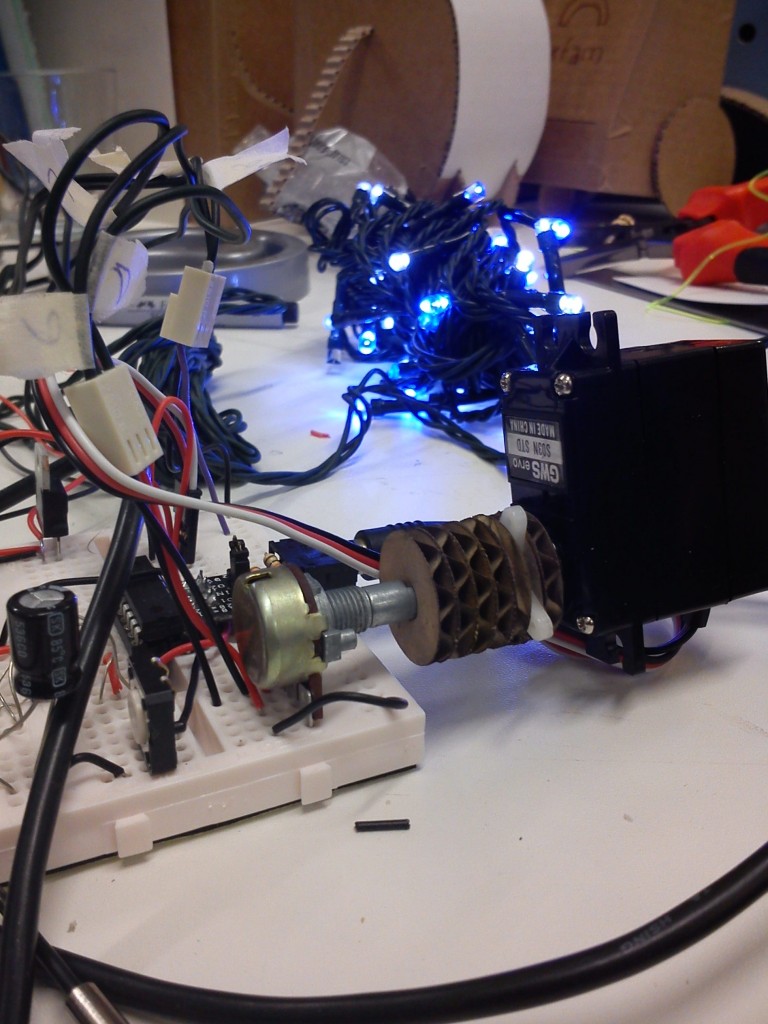
The difficulties here were undoubtedly a result of buying cheap LED fairy lights that work in a unnecessarily complex manner. Pretty much the main issue came from the power supply for the lights which was 24V A.C. while the power I am using for the PICAXE is 5V (brought down from 12V with a voltage regulator). Not entirely sure what to do here as the AC nature of the lights seemed pretty perplexing, even to Mike, as we couldn’t get the lights to work off of a DC supply. Mike had a stroke of genius though and suggested I just attach a servo to a potentiometer. (take a deep breath here…) That way I could wire the potentiometer between the fairy lights and the 24V supply while the servo would be attached to the potentiometer and powered by the PICAXE allowing it to rotate the potentiometer accurately and thus adjust the brightness of the fairy lights! Bit of a crude way of doing things but hey, it worked!

I attached the servo to the potentiometer with laser cut card:

and here’s a video of it working!

The laser is pointed at the LDR so as I move it it simulates a coin breaking the light beam. This tells the servo to go back to its original position and begin the dimming process again.

PART 4: next up…

The whole shenanigans with PWM is now unnecessary but at least I learnt something new! Now the main issue is getting the servo to turn slower so the the lights will dim over around 3-4 minutes. I found some code online that allowed me to do it but it meant increasing the pause duration inbetween signal cycles for the servo. The problem being that if the pause is to long then the lightgate does not work. Hoping to speak to Mike on Monday about this planning on a quick and nifty last minute solution! For the time being though, here’s the code:

turning potentiometer with servo

Posted in 4th Year Product Design, Extra Work | Tagged , , , , , , , , , , , , , , , , , , , , , , , , | 1 Comment

The Petite Noel Project: Part 1 - intro

Now that I have finished my dissertation (just to give it another plug!) I have been working on a bit of a side project. I say side project but it is actually relevant to my product design work in a broad and indirect way.

Petit Noel is a Christmassy crafty event organised by the lovely Dundee Jamboree girls and is happening on the 15th December (this coming Wednesday!). They have a pretty ace looking poster for it so I’ll let that fill in the details.

Somewhere along this lines of this being organised I decided that I could create a donation box to help raise some money for all the efforts that the Jamboree team put into organising their events. Particularly to give them something back for their continuing support of Dundee’s community of artists and designers who have very little opportunity to exhibit and sell their work elsewhere in town.

My plan is to create a donation box which is linked to the Christmas tree fairy lights so that each donation will help to power the lights on the tree. The feedback received from each donation in the form of keeping the tree shining will hopefully be the incentive to donate more. That’s the plan anyway, if you have seen earlier blogposts you’ll hopefully notice the relevancy.

Anyway, this was approached with a somewhat naive how-hard-can-it be attitude as I tend to have with most endeavours which will inevitably frustrate me to great extent. And frustrate those in the studio who sit near me while I constantly chirp for help - its all appreciated!

As a re read this, it’s an bit of a lengthy post so I have split it into a few more bitesize blogposts - electronics, model making and finished piece. I will provide links to these into this post as they go up.

Part 2 - Electronics

Part 3 - Model Making

Posted in 4th Year Product Design, Extra Work | Tagged , , , , , , , , , , , , , , , , , | Leave a comment

More Robots!

Here’s a new robot I made on Tuesday as part of my on going prototyping / aesthetic engineering / having fun making robots. For this I was looking to switch around the 3wheel set up I have been previously experimenting with. The two motor driven wheels are at the front while the spare one is balancing it at the back. I’d imagine it would work fine although it does have some balance issues. My tutor, Pete, recommended that I have a think about making a 4 wheel robot but I thought that the addition of steering rather than a free moving trolley style wheel would only serve to complicate matters. I made a start to a concept model though to see how it could work:

I’m not sure if its this particular design or that I have convinced myself not to bother with a fourth wheel but either way I’m not a fan so I bailed on that design. However, I do like the large base approach, Pete keeps emphasising that I should make different scales of robots. How would some one interact with a donation powered robot the same size as them? The issue here would be to ensure it does not look like a vending machine on wheels. There could be some charm to this approach though.

Following on from this line of thought I stripped away and personality aspect of the robot and produced a more box-with-wheels approach:

Not sure about this one, a re-design will need to be on the cards as it’s looking a bit like a pensioners trolley. Although while making this I had a thought about how I could affiliate my robots with a particular charity. Where would I have room for branding on the robot, if it needed branding at all? I was also encouraged to think about how the robot may signal that it requires a donation. My initial thoughts, as I have implemented here, was to add a flashing LED as a ‘help me’ signal. I’m not sure if this is enough though. A classmate suggested some audio may work, as in an alarm or a baby crying sound (without it wanting to sound too eerie). I’ll give that a bash next week I think. Its about time I had a look at how I could give the robot some personality beyond a crudely drawn roboface. This will be based on both how it moves and how it is interacted with.

Right now I am waiting for my H-bridge drivers to arrive so I can get the motors up and running as my self constructed H-bridge was a bit temperamental. hopefully they will arrive soon but the post system is in festive tatters so who knows when the’ll arrive. I’m sure I’ll find some extra work to get done in the mean time.

Posted in 4th Year Product Design | Tagged , , , , , , , , , , , , | Leave a comment

Why don’t we all make games?

This blog post is a means for me to clear up some of my many open browser tabs which are becoming increasingly saturated with varied content and opinions about gamification. To summarise a previous blog post of mine, I like gamification. However, this is subject to it being applied appropriately. Gamification is not about assigning points to situations as trivial rewards, but rather it is means to promote engagement through enhancing the fun which is derived from whatever the interaction may be. This is where the confusion and misapplication of gamification stems from, non game designers and companies applying game mechanics to their systems but without the sufficient understanding of what makes a good game work.

At Playful 2010, Sebastian Deterding, presented his talk - ”Pawned - Gamification and its Discontents”. In it he described the “blueprint” of where gamification is now:

There’s an activity you want your users to do. You give them points for performing that activity. For a certain amount of points, or certain activities, you earn extras -badges, levels -, and you throw in a leaderboard to create competition

This is a broad blueprint and can be interpreted to different degrees for different circumstances but as of now, this blueprint is called foursquare. A game where players have to check into real locations to receive points and badges for their efforts and compete with other locals to be the ‘mayor’ of a destination: the player with the most check-ins. The badges, points and titles are all part of what makes the game engaging while, on top of this, local businesses may choose to reward their ‘mayors’ and frequent visitors with offers and discounts for their loyalty. The digital link between physical efforts and physical rewards is the motivation for the players to remain enganged with foursquare. However, there are many who feel that if this system works to make foursquare engaging, surely it will work for any others. This opinion is one which David Helgason raised in his blog post about the emerging trends of 2010:

Learn game design and apply it to everything – how people sign up for a website, how people “succeed” in using your product, how customers share it with their friends and become leaders of user groups/clans, etc. Game design can be used for all of this

However, just because game dynamics can be applied to many situations it does not mean that they should be. Many people will attempt to apply game design to non game situations, with the best intentions, but without a background knowledge in game design it is very likely the outcome will be quite weak. Deterding references Will Wrights opinion on the mass application of game dynamics:

Gamification proponents consider game elements to be a kind of monosodium glutamate or crunchy flakes you can just add to any interface, application or service to give it a kick, to make it more fun, motivating and engaging.

What Wright argues is that the thought of applying game mechanics to any situation to ensure engagement is very naive. It is also not simple due to the complexity of game mechanics and the psychological influences the have upon our actions. Furthermore, not all games are fun primarily because it is not easy to make a fun game. This does not stop poor games from being profitable though and inevitably businesses will attempt to cash in on gamification in the same way many incredibly poor videogames are produced to cash in on successful movies.

One thing that encourages me though is that the failures in gamification will be quickly made clear by the community of participants both through lack of engagement or successful misuse of the game, such as cheating, hacking or a backfire of the intended outcomes. Furthermore, I don’t think there should be so much fuss so much over the trivial nature of points. The concept of gamification is very much in its early stages so until more substantial replacements are found, points will do. Despite this, points do seem a bit of an easy route out of a more substantial reward system so their availability as an easy design fall back may actually be hindering progression.

I believe that the physical / digital borderland (such as exists in the virtual points, real reward system of foursquare) is where exciting design will take place. The problem is though that this system already exists and has done for a long time before the definition of gamification - an argument which scepitcs will often raise. However as I pointed out in my now complete dissertation, “with recognition comes the opportunity for development“.

As will all things, gamification will be most successful if applied with moderation. I look forward to watching how gamification evolves though, as Ryan Kim states - Gamification Needs to Level Up. Designers wishing to gamify will need to be aware of three things in order to produce a successful outcome.

  • The designed ‘game’ must be fun and non trivial
  • It must not focus on changing behaviours but rather focus on motivating actions
  • It must be relevant to the system it is enhancing or exists within

At last weeks gamification and design ethnography workshop in Dundee, I was said to be a ‘games designer’ (though it may have been as I was the only non-design ethnography student there). I do not think of myself as a games designer though but rather a product designer with an interest in games design and as such I would love to hear what other peoples opinions are towards the increasing trend of gamification and where they feel it may be implemented into their lives.

There is much more I could write but I’ll leave it at that for now. If anyone has made it as far as here on this post then you’ll probably be interested in having a look at the same blog posts and articles which have been cluttering up my internet for the past few weeks:

Byron Reeves - “Work sucks - Games are Great”

David Rowan - “Serious Games - Can games change your business and change the world?”

David Helgason - “2010 trends”

Adam L. Penenberg - “How Video Games are Infiltrating - and Improving - Every Part of Our Lives”

Christopher Cummings - “Why The Gamification Of Everything Is A Bad Thing“

NESTA Report - “Serious Games”

Ryan Kim - “Gamification Needs to Level Up - Here’s How”

John Tierney - “On a Hunt for What Makes Gamers Keep Gaming“

Posted in 4th Year Product Design, Dissertation, Extra Work | Tagged , , , , , , , , , , , , , , , , , , , , , , , , , , | Leave a comment

Dissertation Freedom!

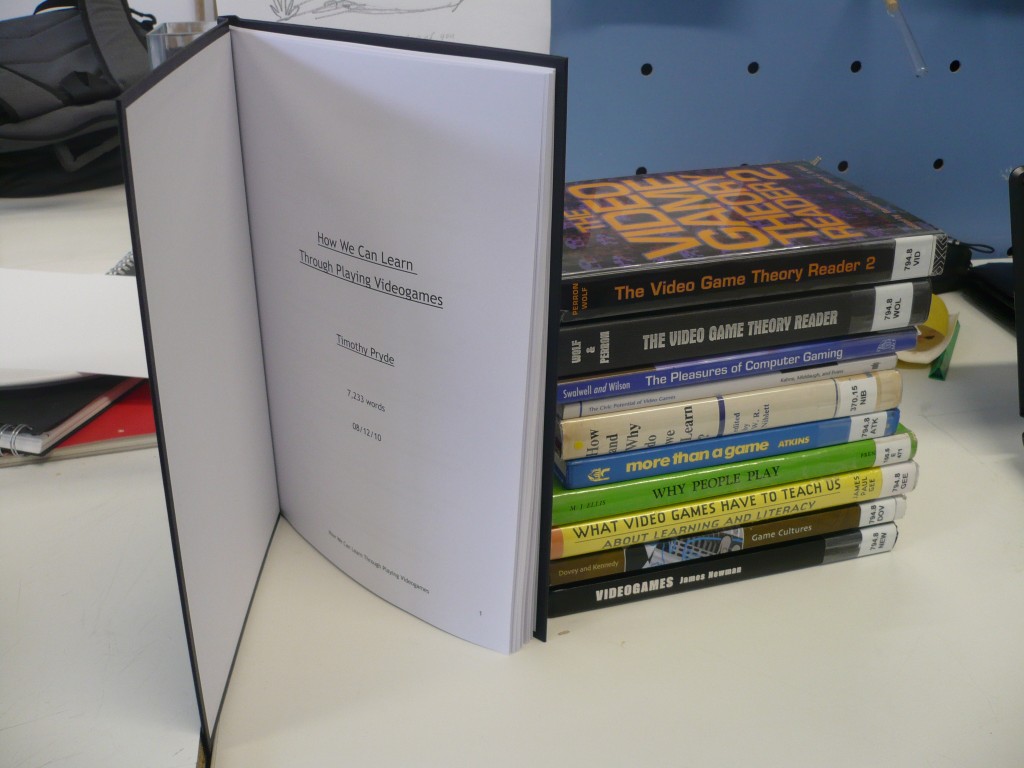
Today I finished my dissertation. By finished I mean edited, formatted, fully cited, re-edited, re-formatted, re-cited, proof read, proof read again, edited again, readied for printing, submitted digitally, printed, checked and BOUND! Phew!And now I have a nice hard bound wad of 36 pages waiting to be handed over to the right person.

It feels like finishing reading a good but lengthy book. I skip back to the first few pages I wrote and it feels like so long ago. What’s more, the dissertation I proposed in March is not the same one I have just finished. The broad themes are still there, in my case how videogames can be viewed as non-frivolous, but as the writing progressed I saw more specified and relevant themes emerging. This helped me to understand both what I needed to look deeper into and what possibly was taking the dissertation along a path of deviation. It is a tough call to outright delete a few thousand words (and what feels like a few thousand hours of effort!) but that’s just all part of the process I guess. It seems that academic writing is as much about the content you write as it is the content you remove for the sake of fluidity and coherence.

Overall I am happy with the final result. At 7233 words - How We Can Learn Though Playing Videogames by Timothy Pryde. (see bottom of post for download)

I think it has a good ring to it!

The dissertation explores a background into how we learn and why we play then applies this understanding into the context of videogames and gameplay. This highlights the term ‘gaming literacy’ - a key component within my analysis and argument. Following this I look into the learning outcomes which can be derived from videogames and gaming literacy. However there are many authors (in particular Gee and Zimmerman) who have devoted works of text to this subject so my overview concludes on how this understanding may be applied which I believe to be through the concept of ‘gamification’. I round off the dissertation with a case study which is the Games Construction Workshop I carried out back in mid October (which is yet to receive its own follow-up blog post). This allows me to apply primary research to back up my secondary research whilst also providing a demonstration into how videogames, gaming literacy and gamification can all be applied in the academic environment without the direct use of consoles in the classroom.

Throughout, however, I am aware that my arguments towards the benefits of videogames and the areas of understanding derived from them are wholly reliant upon the quality of the content, context and implementation. Though I argue that all videogames provide us with knowledge to some extent, the quality will fluctuate with regards to each title (which can also be said of any media format).

The only regret I have is that the topic of gamification is not so much skimmed over but I would have liked to go into more detail, providing more in-depth examples of both good and bad. However I felt that this would open up a can of worms and send me off on another tangent which could ultimately result in a whole other dissertation.

I would be lying to say that I loved every minuite of this, there where a few hairy moments where it might have collapsed around me, but like I said earlier, I have been left with a distinct feeling of satisfaction. Satisaftion that I have not only produced the longest piece of literature I have ever written but also that I have discovered, and learnt much about, a field of expertise which excites me.

I feel that this in particular is the key outcome which I have gained from the fragmented year I have spent working on my dissertation.

Here is the full dissertation pdf file:

How We Can Learn Through Playing Videogames by Timothy Pryde

If you have the time to read it I would love to hear what you think!

Posted in Dissertation | Tagged , , , , , , , , , , , , , | 2 Comments

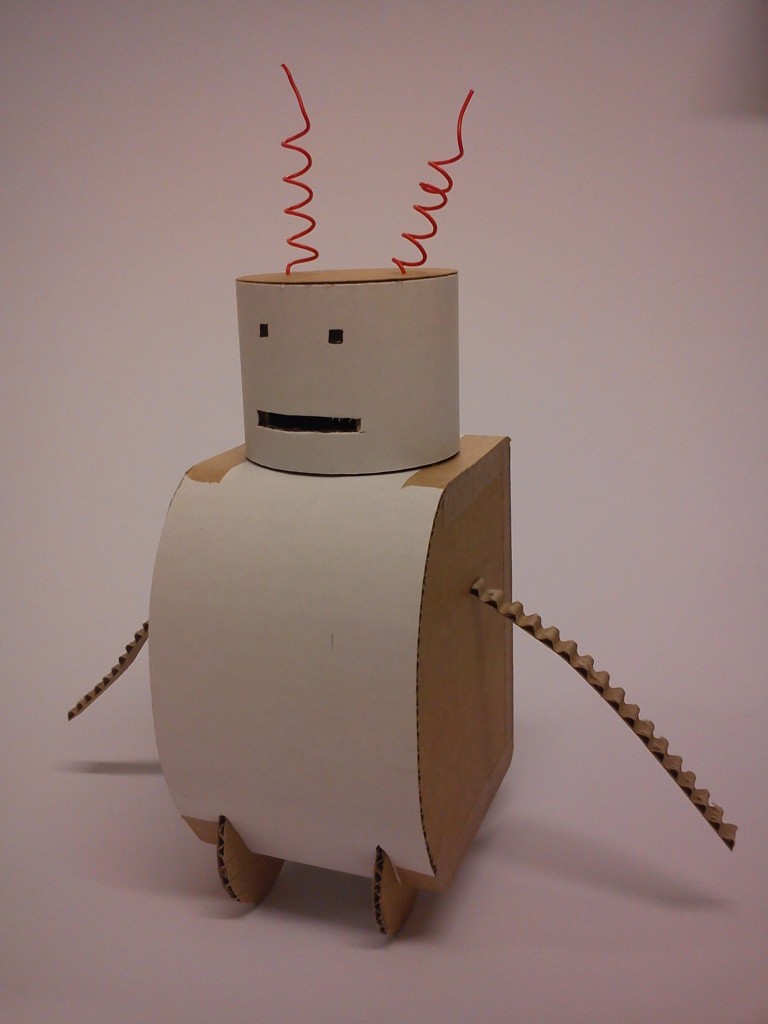
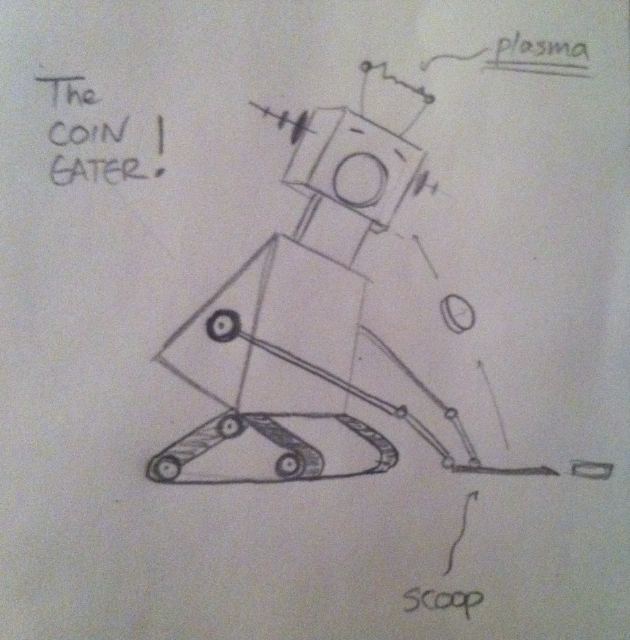
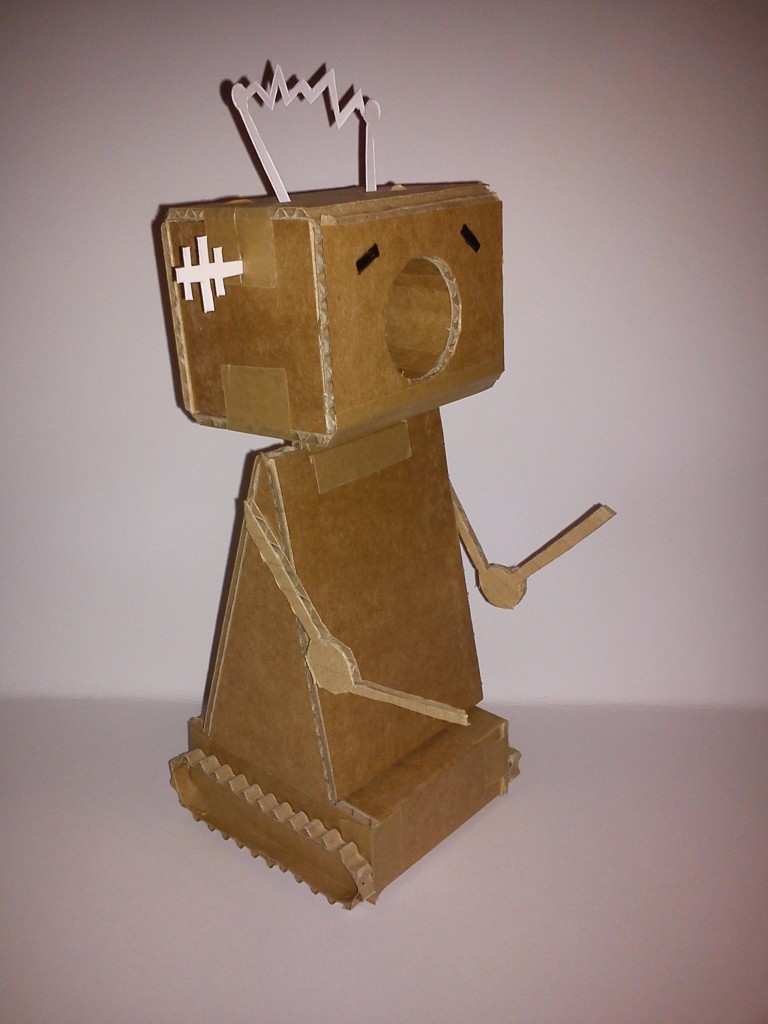
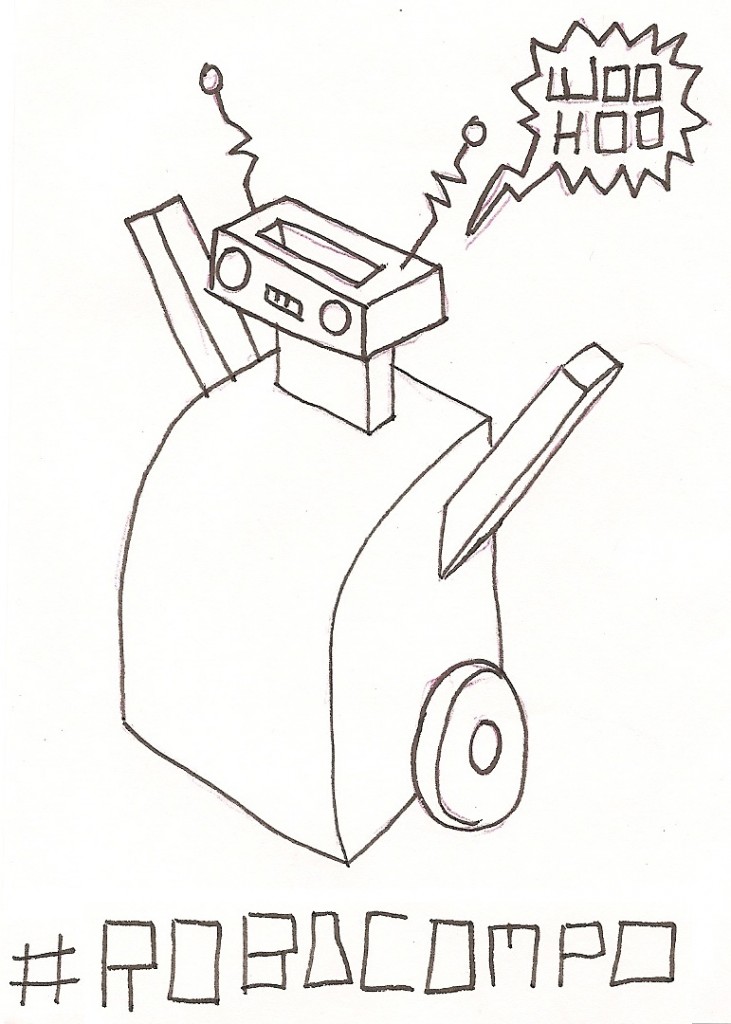
Robocompo – nomnomnombot

3: Nomnomnombot by @mikevanis

Although I quite like the idea of reeding the robot coins, I think that this particular mouth shape has a few too many, ahem, associated connotations. Also I lost Mikes original scooping mechanism purely for simplicity purposes, the plasma on the other hand is obviously vital and would no way be hazardous to a cardboard model!

I like the idea of the treads rather than wheels though. I wonder how feasible that would be to construct…

Posted in 4th Year Product Design, Twitter | Tagged , , , , , , , , , , | Leave a comment

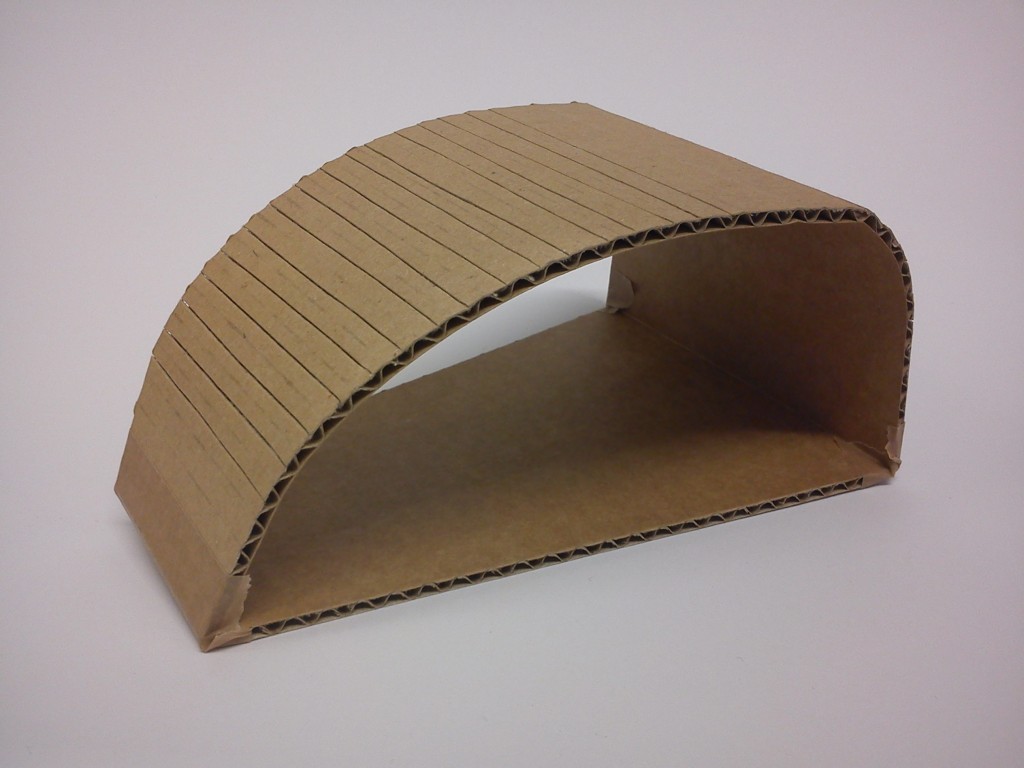
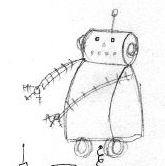
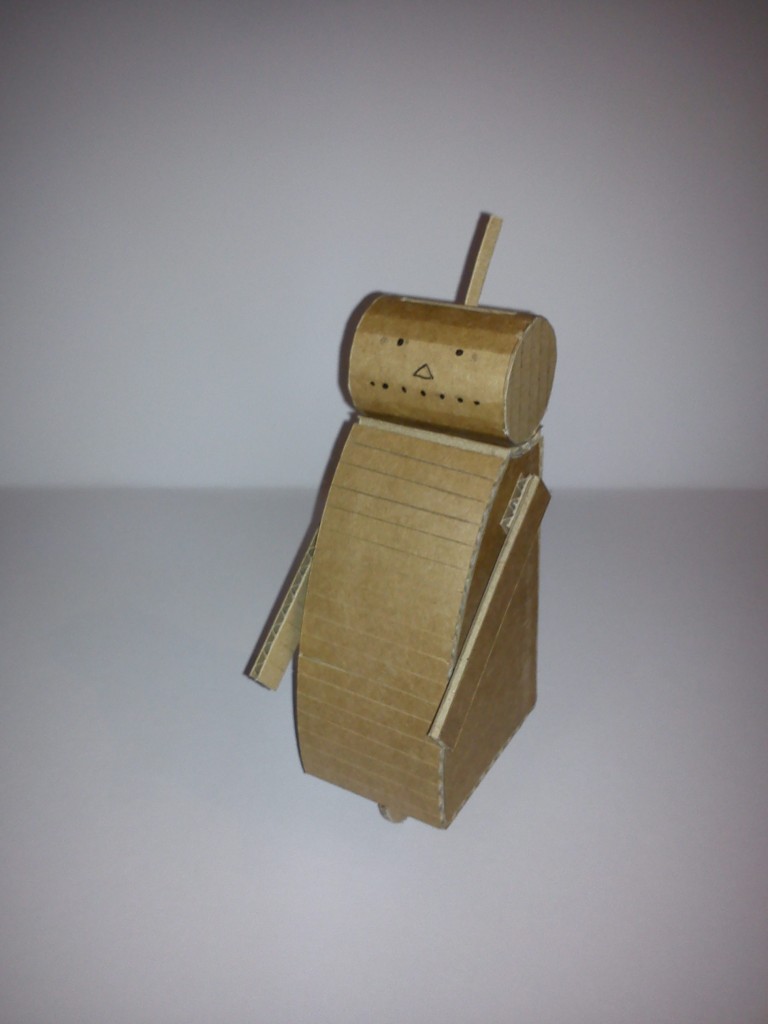
Robocompo - Cylinder Head

2: Cylinder Head Robot by @laurengentry1

I quite like this one, It has 3 wheels underneath so is a bit more stable. However it does have a bit of a Jetsons feel to it.

Posted in 4th Year Product Design, Twitter | Tagged , , , , , , , , , | Leave a comment

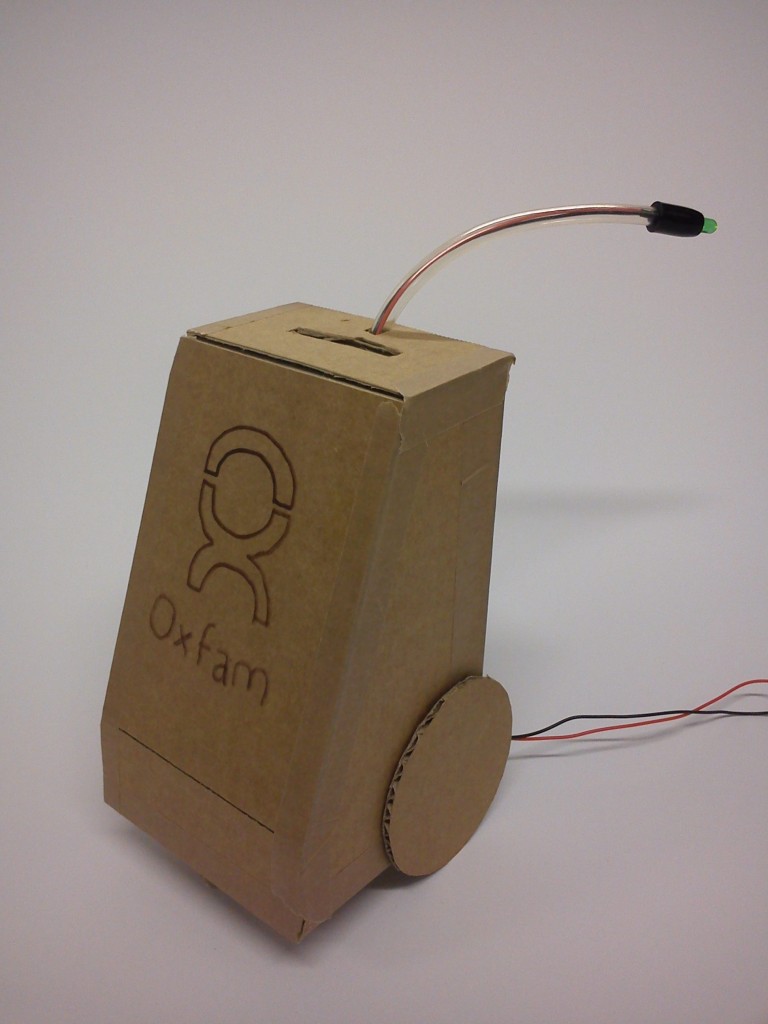
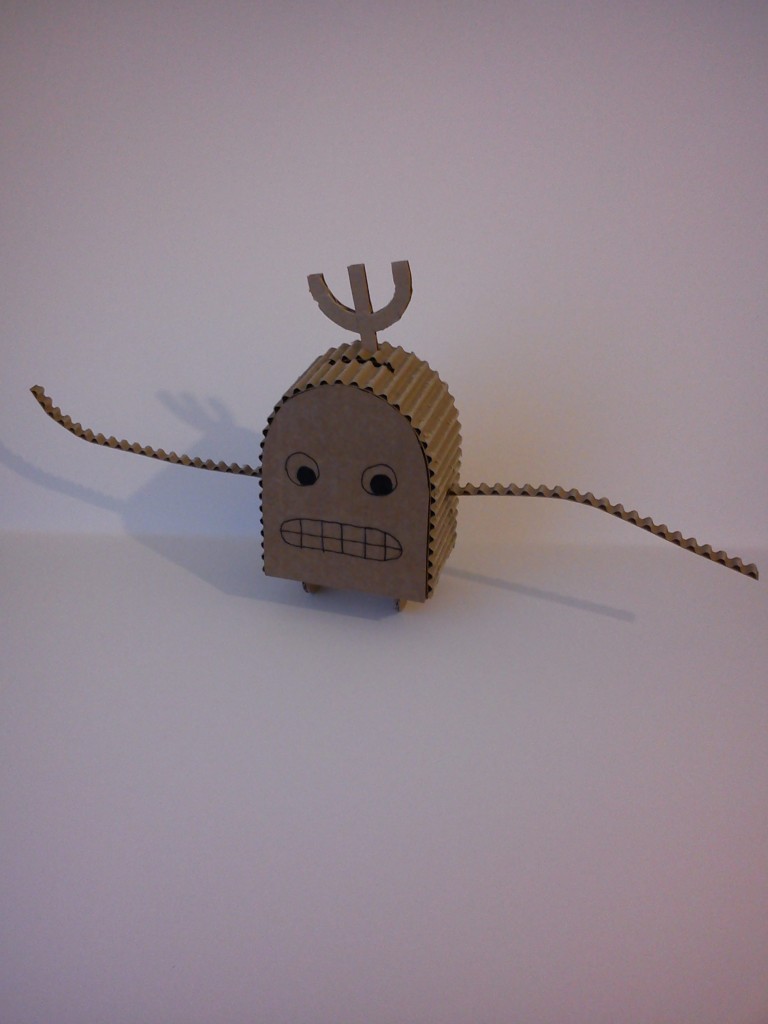
Robocompo Bots - Disco Bot

Today I am going to try and make as many Robots as I can so my blog will be getting updated as I go. If you have any more robot suggestions email them to me at [email protected] , Twitter them to me (@timmmpryde) and tag with #robocompo or tag me in an image on facebook and I’ll get it there!

1. Dicsobots by @tartanbaffies

I love the expression but think it needs to be wider to accommodate for more than 2 wheels!

Posted in 4th Year Product Design, Twitter | Tagged , , , , , , , , , , | 1 Comment

Robo Compo!

So today I was hoping to go into uni and continue playing about with motors but the unrelenting snow (and thundersnow) which has struck Dundee this weekend has meant that today the University of Dundee is closed. This is a bummer for me as all my electronics stuff is in the studio but here is my back up plan:

ROBOCOMPO!


So today I will make some concept card models of robots. However, my creativity will inevitably wear thing about the 3rd box looking bot so this is a competition for all those budding doodlers who are snowed under today. I am looking for rough sketches of robots of varying shapes and sizes. In exchange I will TRANSFORM your concept robot into a cardboard model. However there are some requirements:

  • The robot needs to be able to carry money in the form of loose change
  • The robot will run on wheels
  • Preferably the robot will look friendly although if its particularly cool then this rule will be subject to change!
  • Colour is not essential, a line drawing will do the trick!
  • Keep it simple!

Voting will take place throughout the day by a unanimous panel consisting of me.

Upload images to twitter and tag with #robocompo or email directly to me at [email protected]

Models and sketches will be posted on twitter (@timmmpryde)

Follow #robocompo (or click on the robocompobot image above) to see what happens!

01001000 01100001 01110110 01100101 00100000 01000110 01110101 01101110 00100001

(Robot speak for ”Have Fun!”)

Posted in 4th Year Product Design, Twitter | Tagged , , , , , , , , , , | Leave a comment

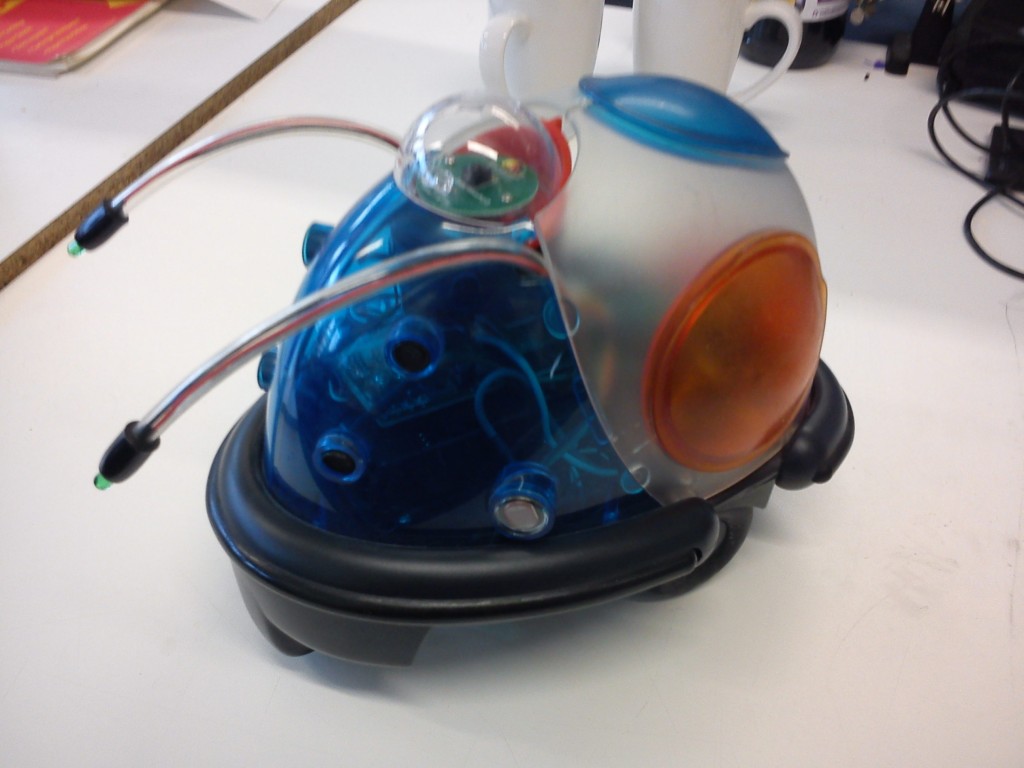
RIP Cybot

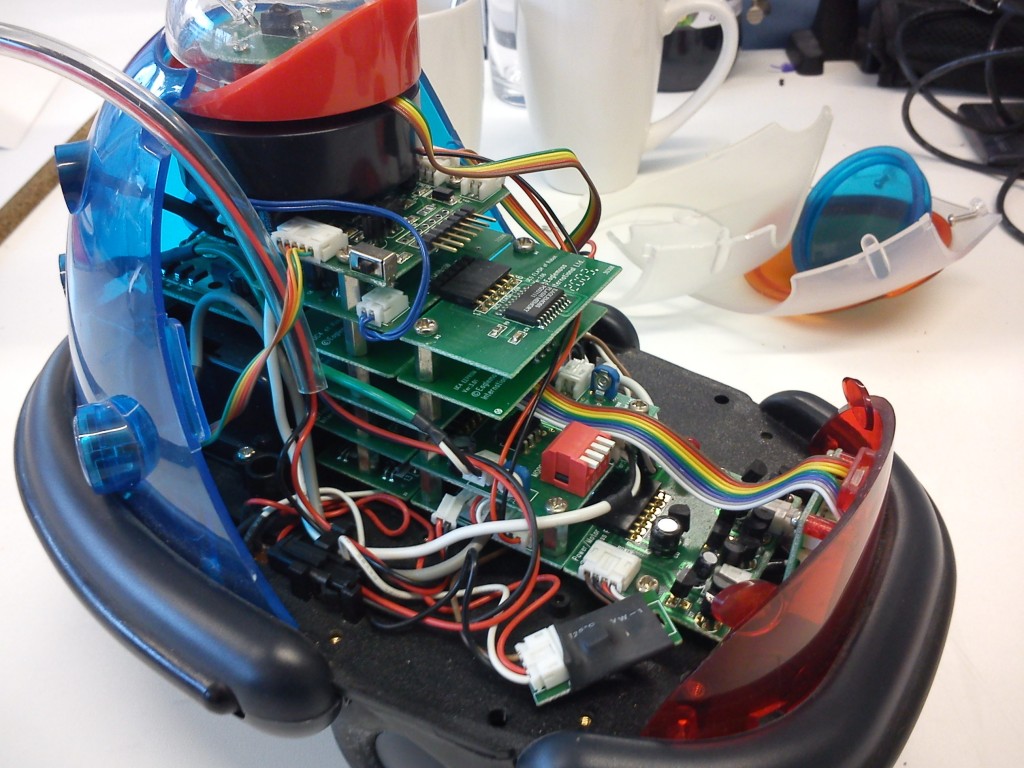
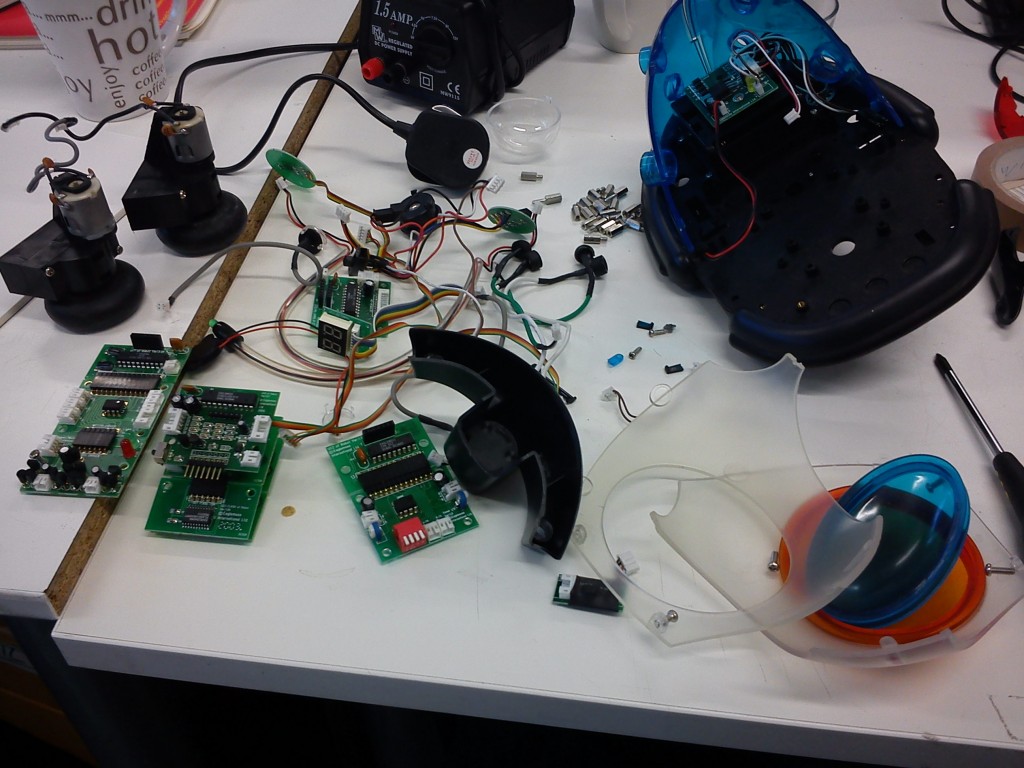
This is my Cybot. I constructed it during my high school years as a result of a long lasting subscription to real robots magazine. At £3.99 an issue it was kindly funded by my mum. In its prime it could drive about of its own accord dodging obstacles, it could follow a torch, it could follow a drawn line path, it could sing and dance, it could be remote controlled, it could play football, it could be voice controlled, it could be programmed and it had a half complete buddy robot called TOM. However, after my own tampering broke Cybot a few years ago I though it was about time that I harvested its organs for future use. In particular the motor, gearbox and wheel set up looked pretty handy.

So now I am down one Cybot but have gained 2 motors, 2 LDR’s, 2 sonar emitters and receivers, a piezoelectric speaker, a dual 7 segment display, an infra-red diode, 2 LED’s, a whole heap of screws and dividers and various other bits and bobs I either don’t know the names of and/or don’t know how to use.
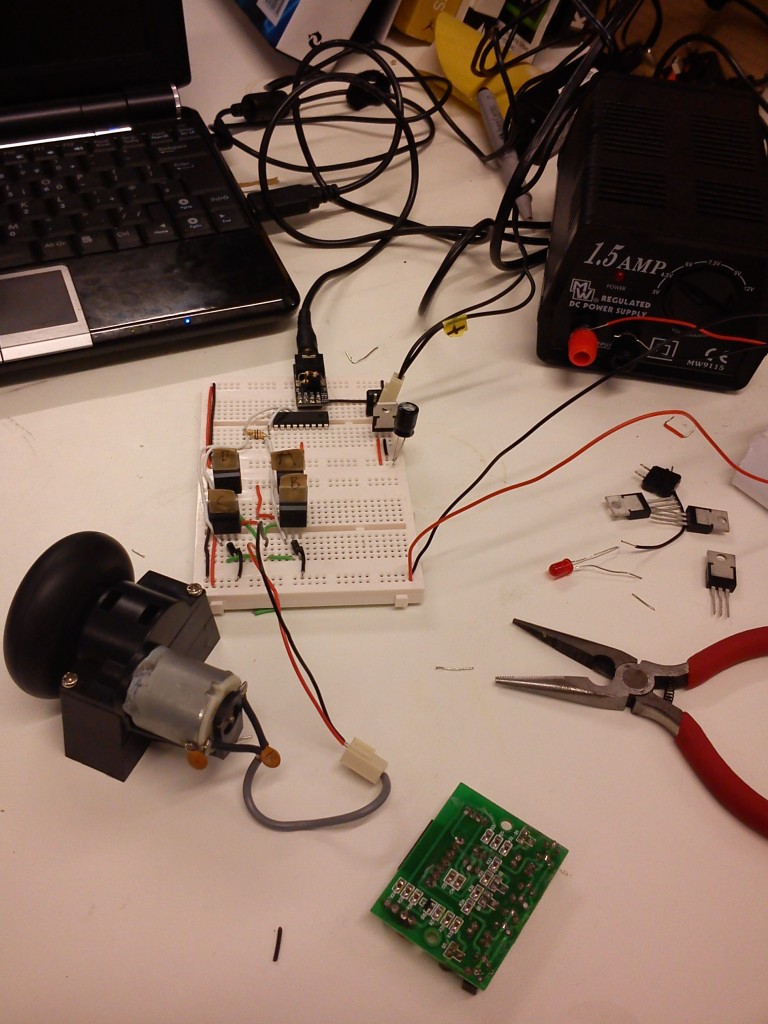
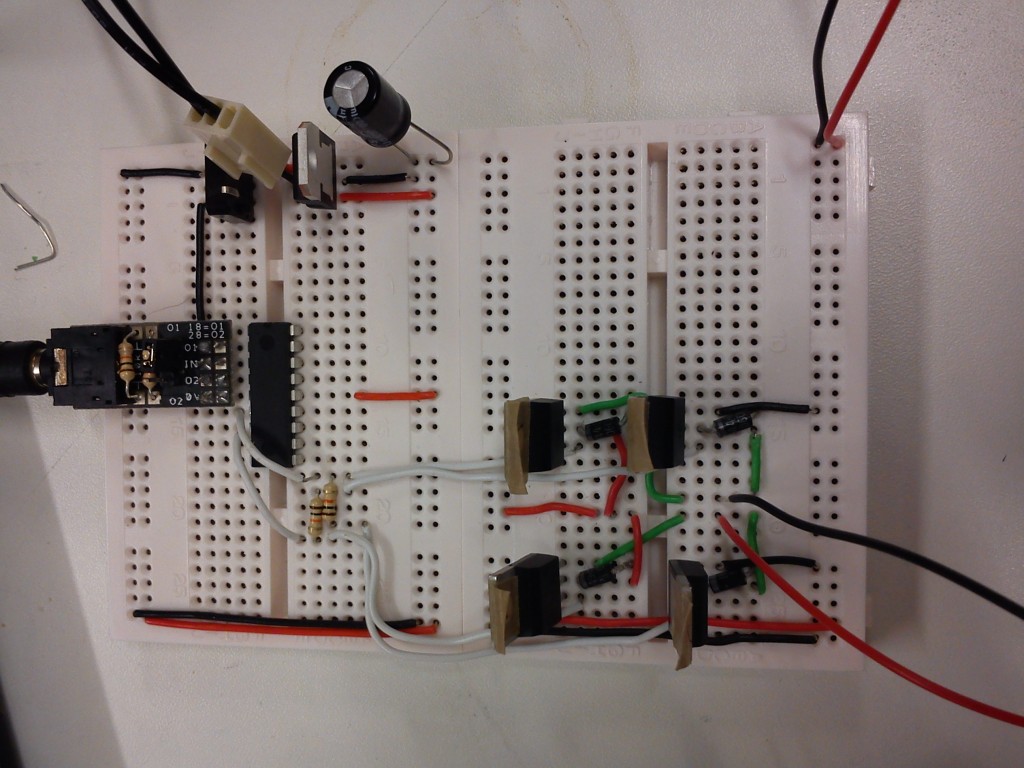
So using the motors (and a whole heap of unexpected effort due to a dodgy project board) I constructed a H-bridge so that I could program the direction of the motors rotation.

The H-bridge runs on an isolated circuit powered by 9V while the PICAXE chip runs on a voltage regulated circuit of 5V. As already said, this took far longer than it should have due to a faulty bread board not making connections when it should have which resulted in rather lacklustre motor rotation. A chat with Tom Hulbert about this and I think I am just going to buy a H-Bridge driver, save a whole heap of hassle with transistors and diodes. Until that arrives though I’ll mess about with this, make another one, and see how I can get 2 motors running in sync.

Posted in 4th Year Product Design | Tagged , , , , , , , , , , , , , , , , , | Leave a comment